Anamorphic

Anamorphic Chop Shop - Anamorfaking the Helios 44

October 11, 2015

Anamorfake your Helios 44 by opening it up and using an oval aperture. Anamorphic bokeh made easy and with very little cost! All steps explained and links provided at the blog.

USEFUL LINKS:

All the RED links on this post are part of eBay's Partner Network, so if you purchase anything through them, you're helping me to keep this project going.

You can support this project on Patreon. Make your contribution and help the Anamorphic Cookbook!
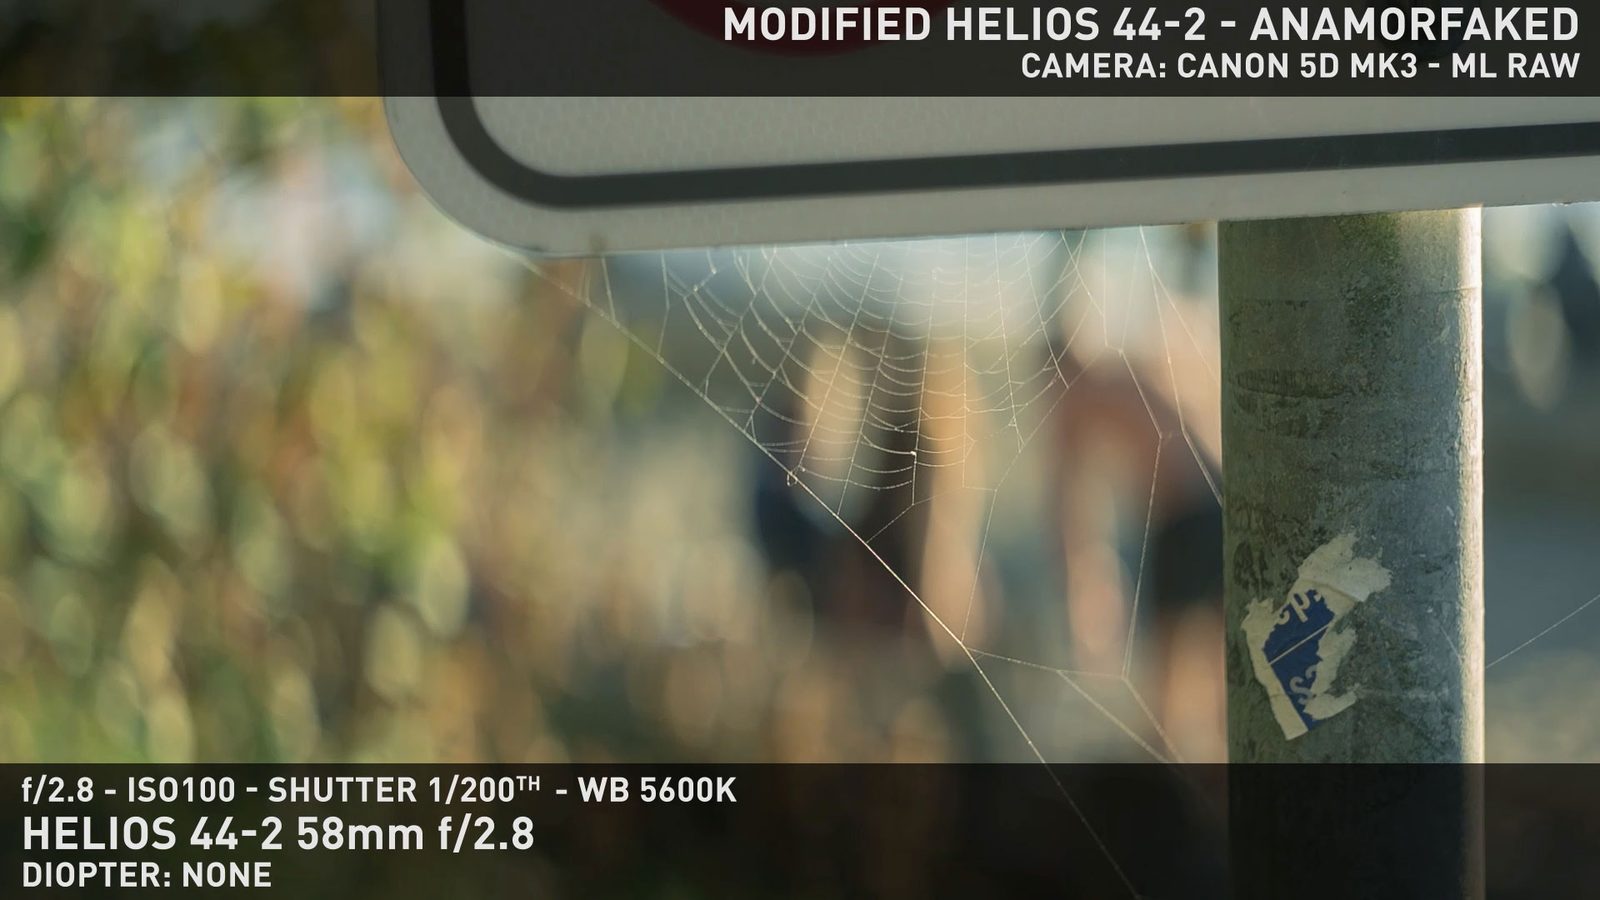
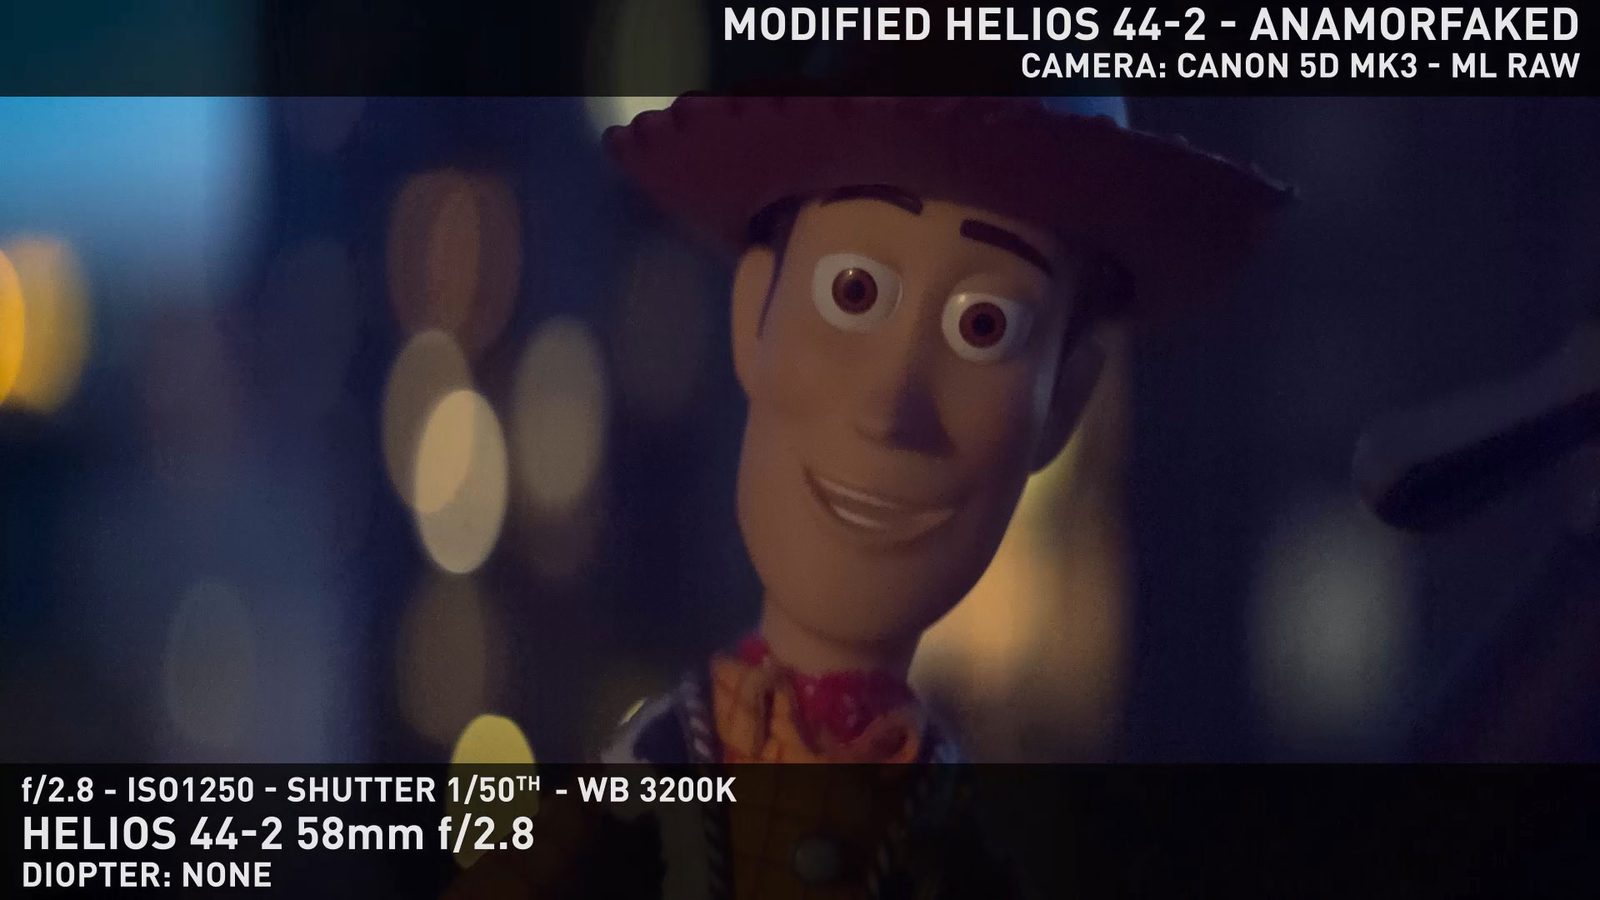
Tito Ferradans here for a shorter than expected Anamorphic Chop Shop episode. I expected this whole thing to be a little more complicated. Thankfully I was wrong. Cutting to the chase, in this episode I'm gonna show you how to open up the Helios 44-2 in a non-destructive way and use your own aperture discs. Before I start on the procedure itself, this technique was first shown as a vimeo video by Amir Safari, in late 2012. I messaged him about it and we talked a lot, he explained me how to open up the lens and even sent me some of his spare aperture discs through the mail since I couldn't make mine anywhere in Brazil. Amir is still doing aperture modifications to some other lenses and if you like what you see here, you should definitely check his Train Station test video - you can find the link in the blog post.


First thing you should do is print out your aperture. I have links for 2x ovals and different iris values (f/2.8, f/4, f/5.6 and f/8), you can just download them and get them laser cut. Here in Vancouver I just went to Laser Cutter Cafe and that costed me less than CAD$10. You can also design your own aperture blades, as crazy as you want them, feel free, be creative. Another option is to use transparent sheets of plastic and color them using markers. Just a hint of how crazy things can get.

UPDATE - OCTOBER 2016: I'm selling aperture discs for this mod on a small scale on eBay, so if you're looking to get some for a decent price, check out the listing!

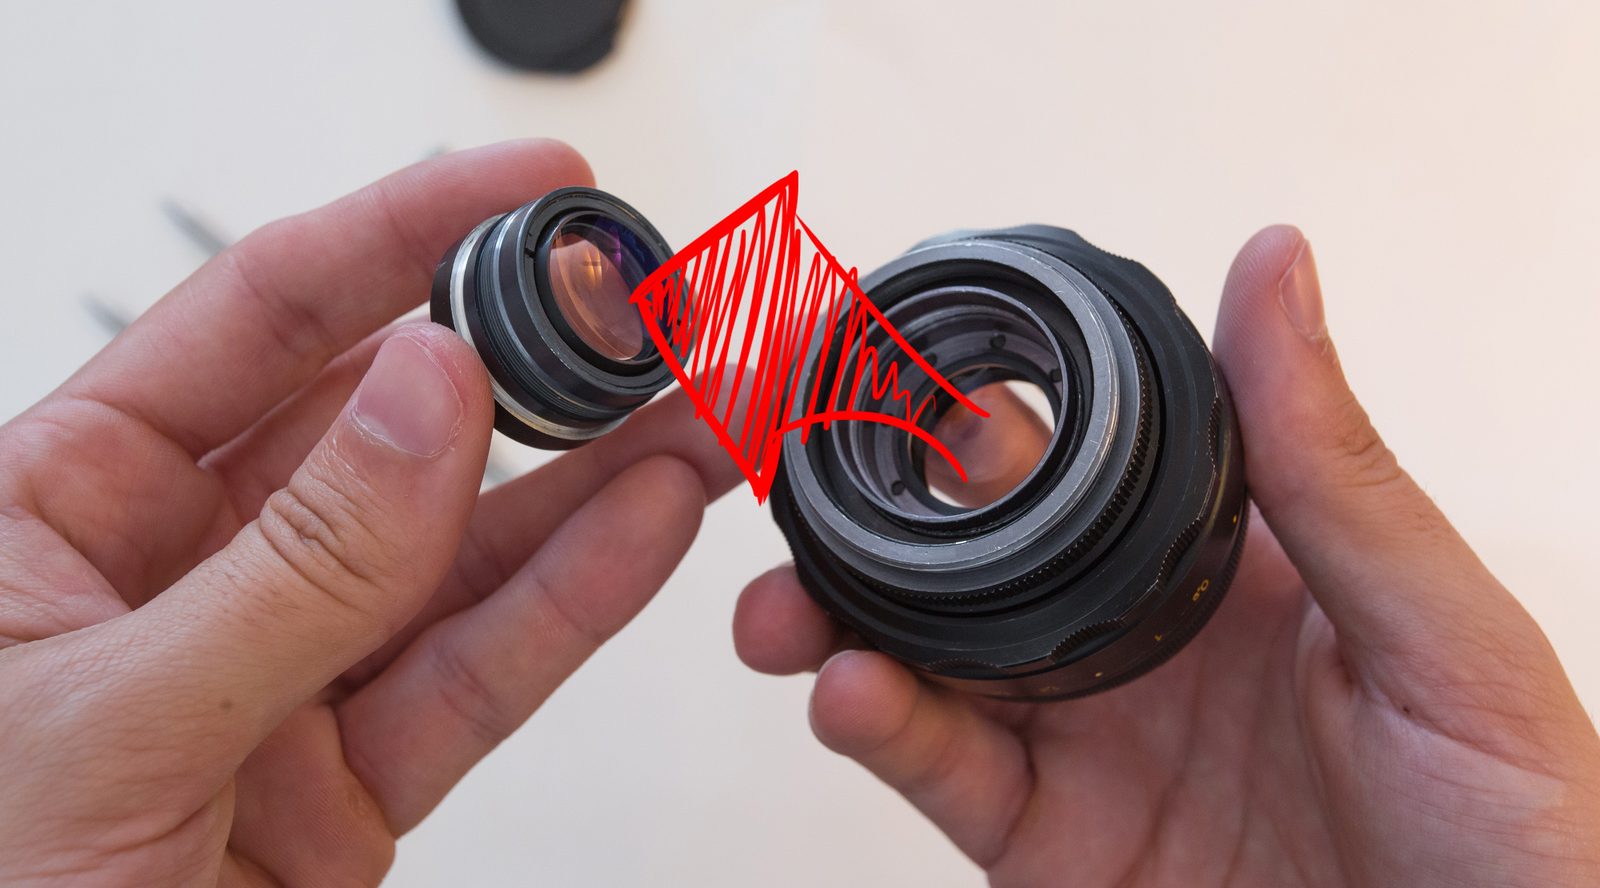
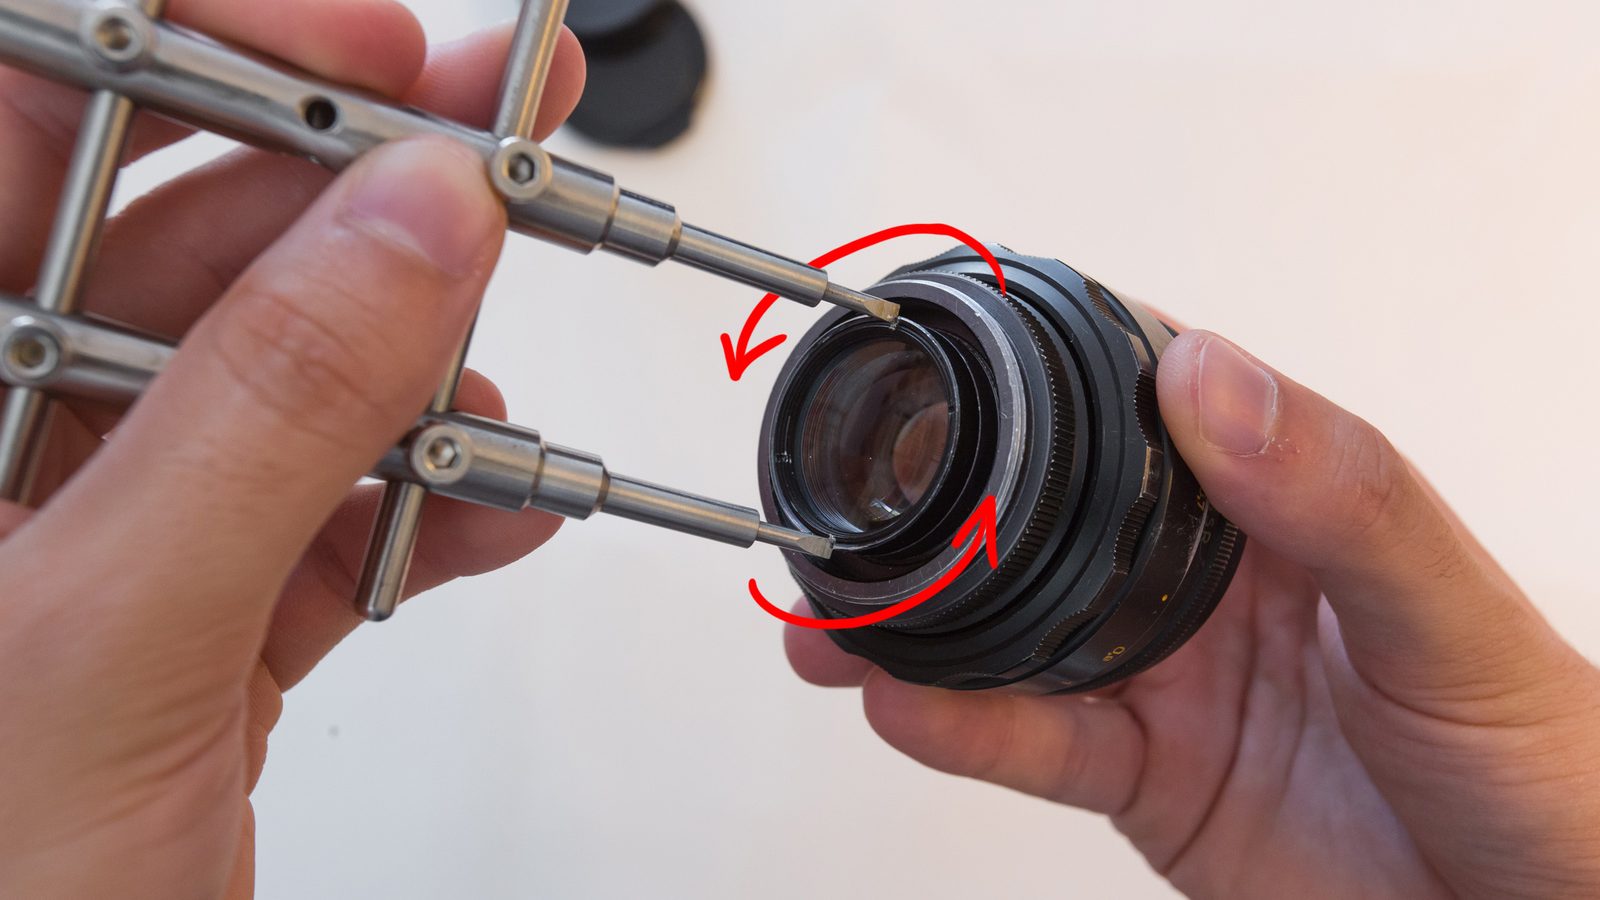
Next step is opening up the lens. The first time I did this mod, I came through the front and had a ton of extra work and even messed up the focus helicoid. Ended up damaging the blades and having a stuck iris. If you open it from the back, you'll have to put a little strength once but then it'll be as easy as attaching filters. I'm using a lens wrench (less than $15) just to make life easier. You can see there are two different slots for the wrench, you need to pick the outermost one, which is liked to this thicker piece.


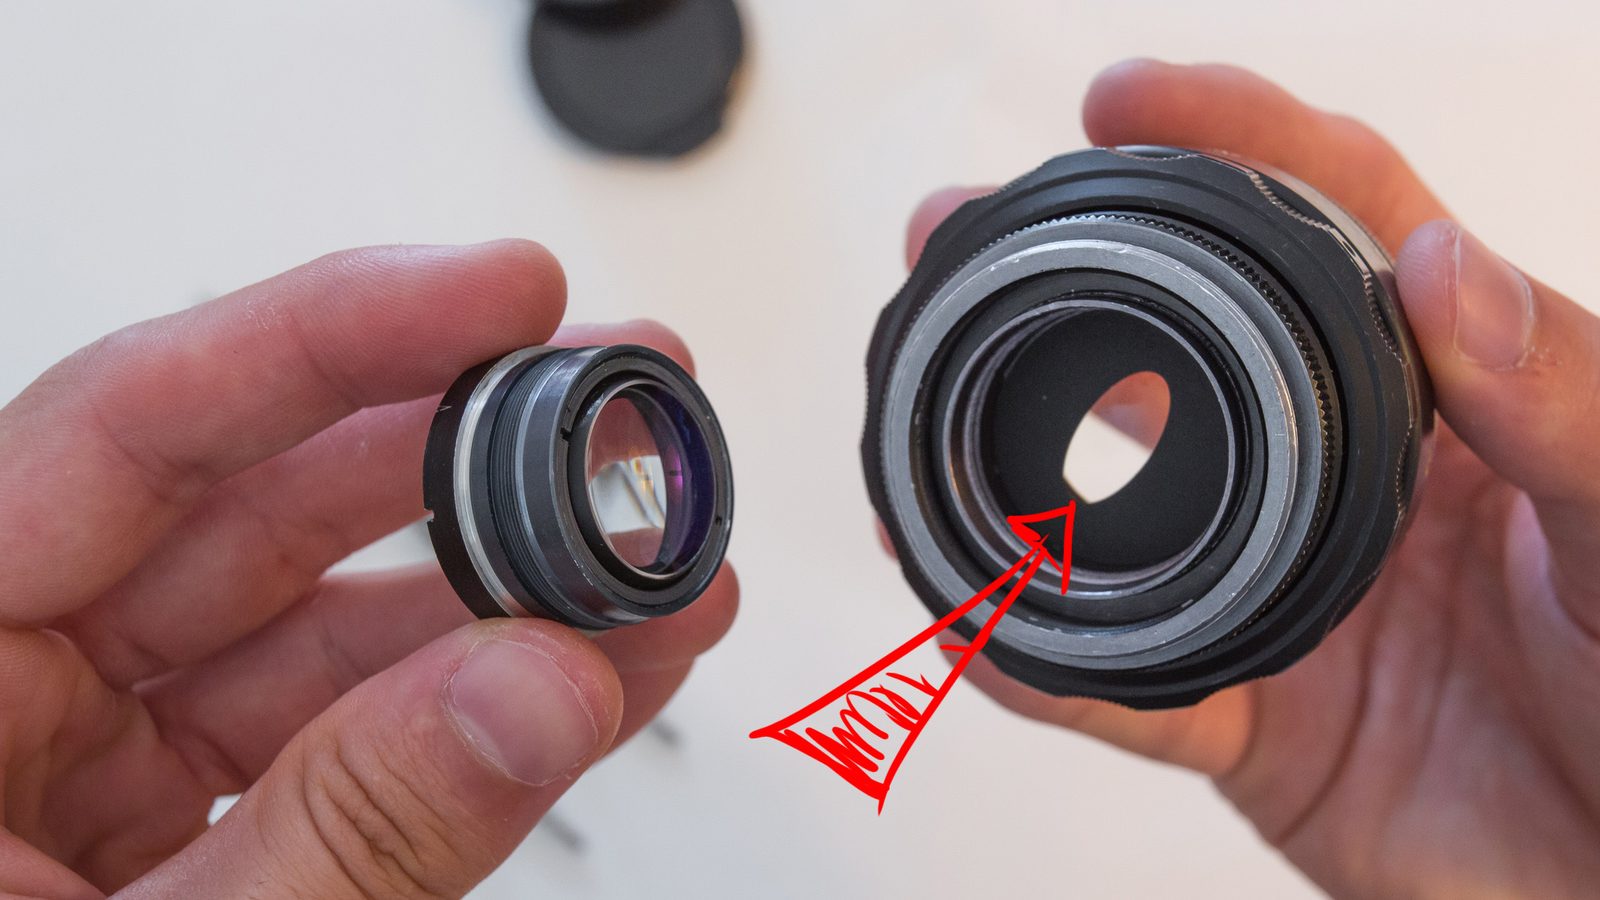
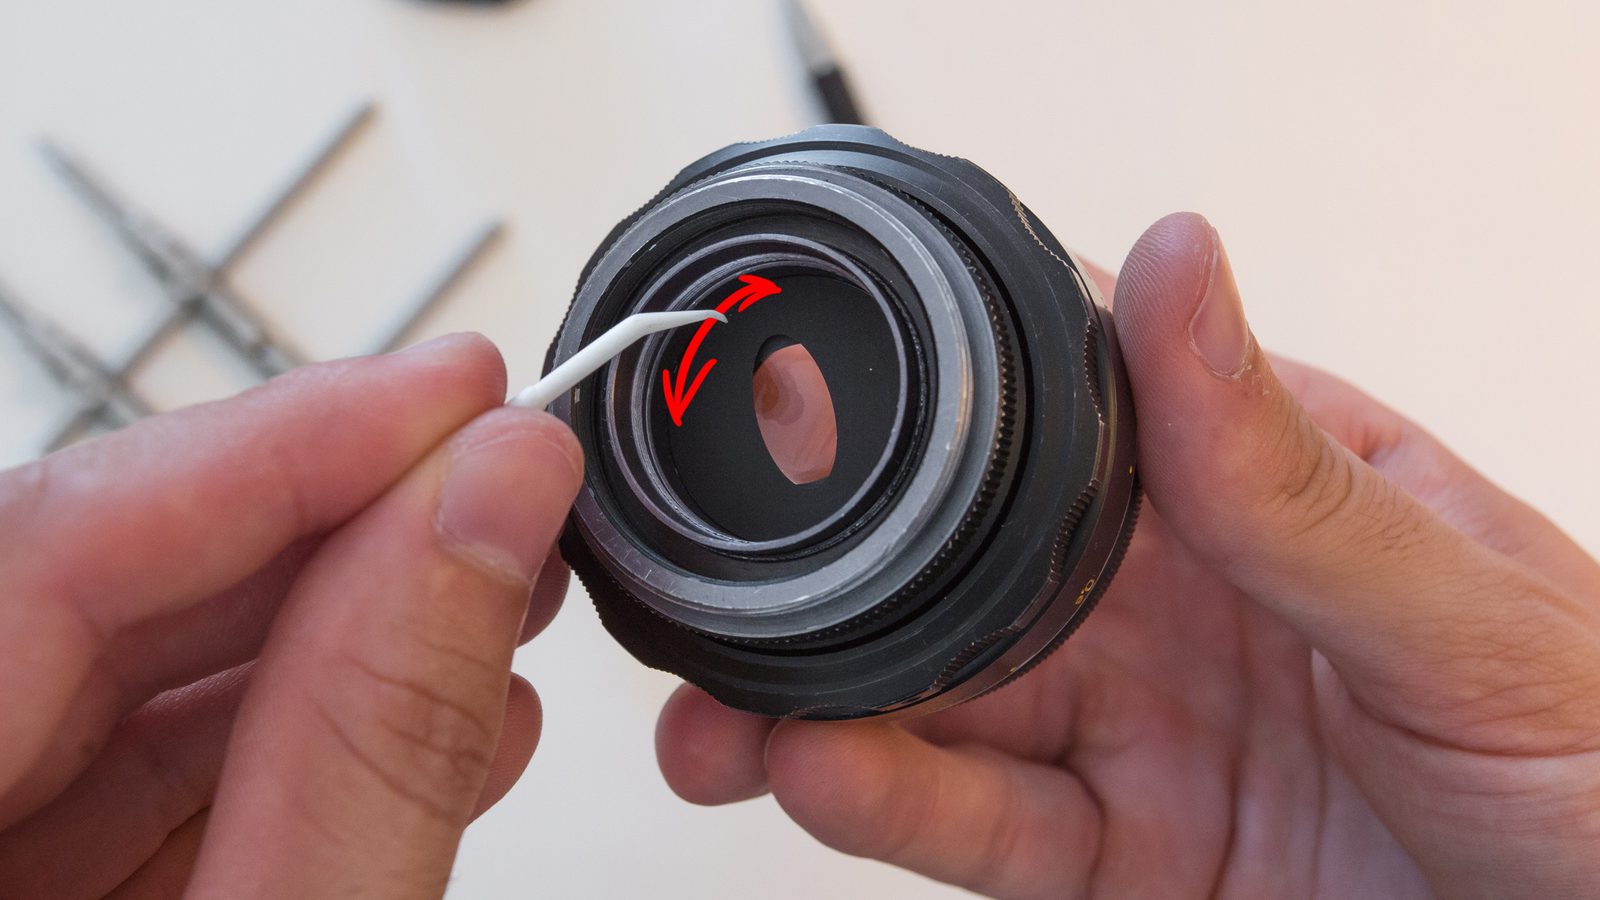
So, twist the wrench anti-clockwise (I always get this wrong) and remove the rear optics. Now you're looking at the iris mechanism. Just drop your selected aperture there and close it up again. One issue you might face is getting alignment right, which can be a little tricky. In my case, I did a tiny mark on the side of the lens that's facing up, and then using a toothpick I aligned the oval with that mark and then closed the lens back.


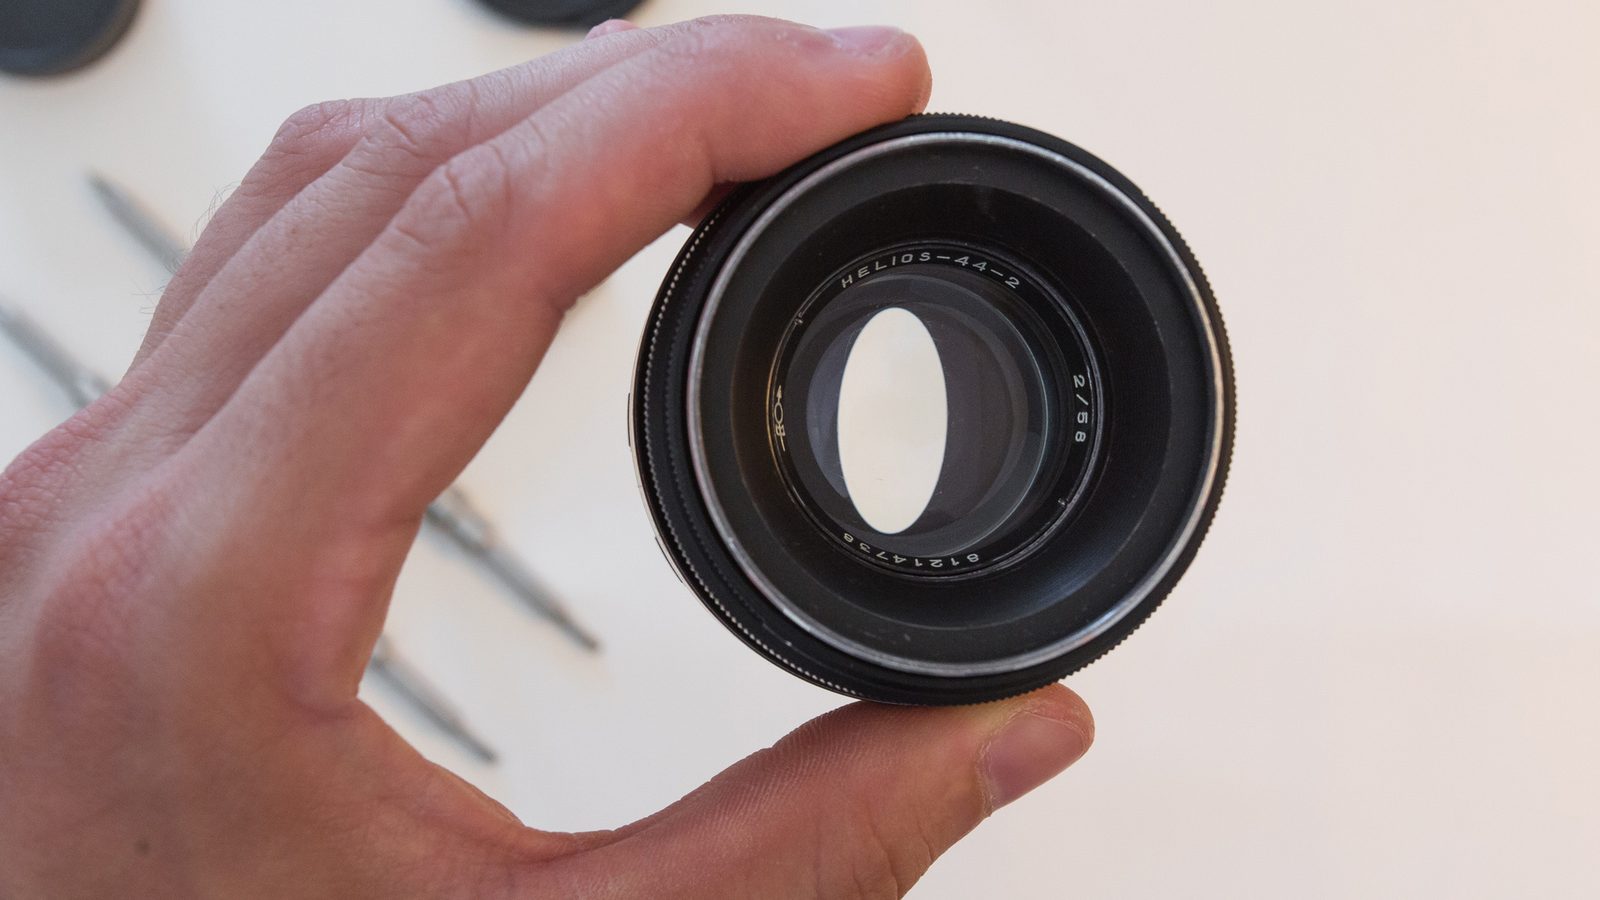
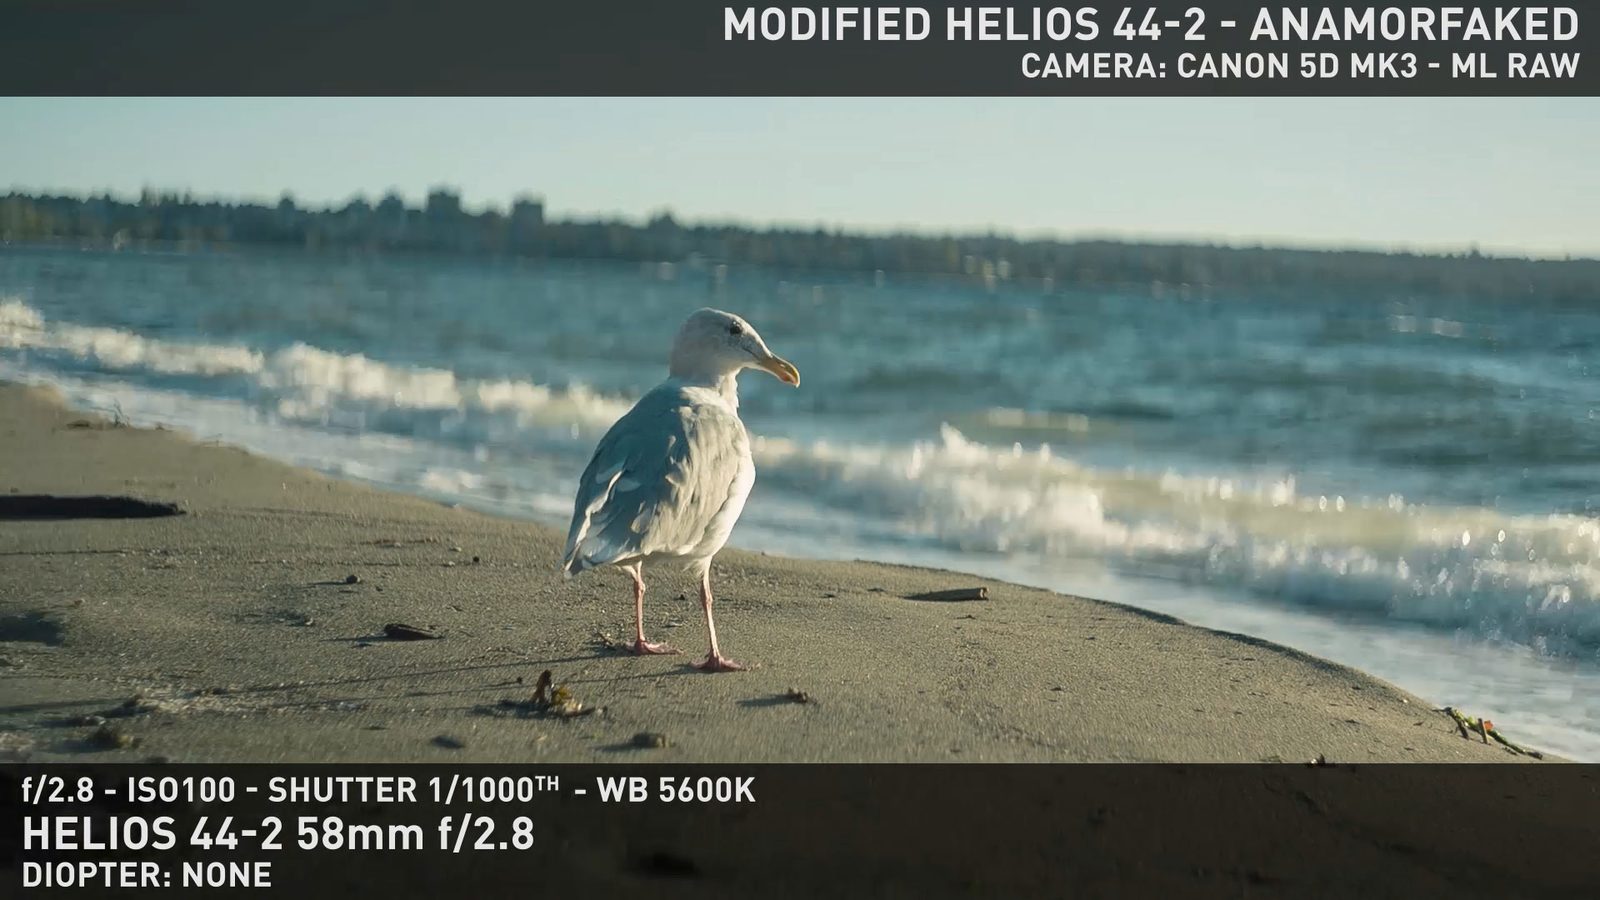
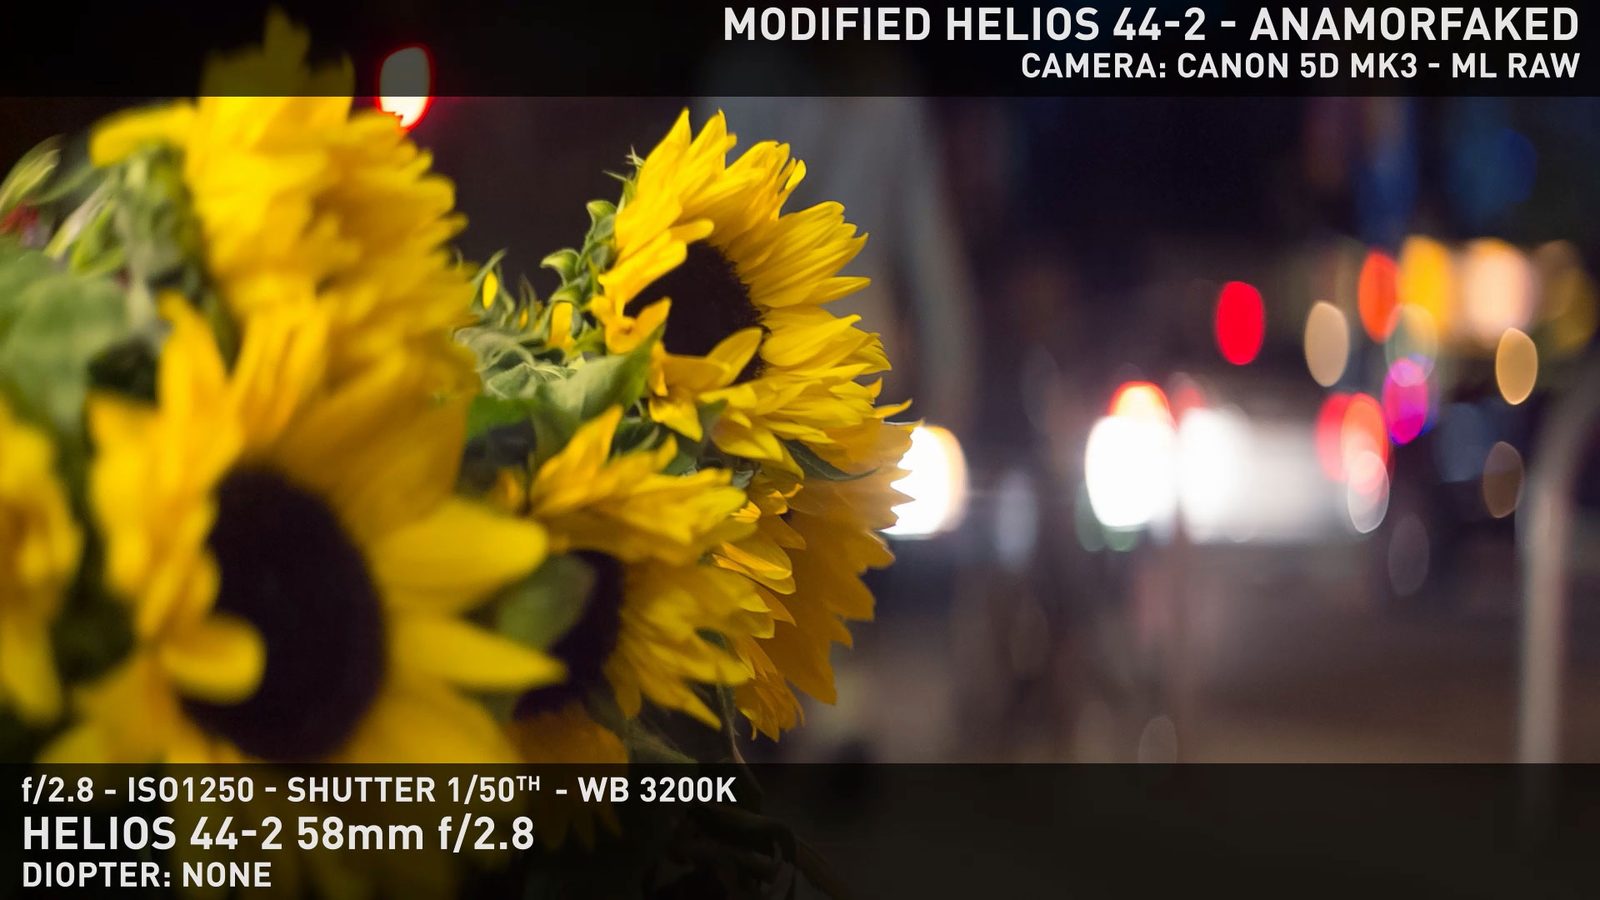
And that's it! We're finished! Here are just a few shots to prove my point. Combine this with a flare filter and you have a complete anamorfake look, with close focus, single focus, lightweight, pretty ovals, sharp image and the Helios 44-2's pretty flares.


I hope you guys enjoyed this video, subscribe to the channel for more content, check my blog for some extra information regarding this mod and other anamorphic matters. Also, if you know of anyone who'd be interested in this modification, send the video their way. I'm trying to constantly upload new stuff, but your help spreading the word is a huge boost for my morale along the bleak fall and winter months I have ahead! Thanks for watching, and I'll see you soon! Ferradans out.

Day-to-Day

Eva.

October 10, 2015

It was about time I switched to a better bike. I think I wrote a few lines here and there about how much the old one was slowing me down. It wasn't anything specific, it was the whole thing. Too heavy, too small and - this was a good part - too cheap. I fell a number of times from it, or absolutely lost control without falling - while hugging a fence or a sign and last Sunday was just like that, except the crankset bit nicely into my leg - now I have what looks like a large cat scratch on my right calf - and I snapped the front brakes. This was just coming out of the garage. I went back up, cleaned the cuts and came back down for the most thrilling seawall ride of my life: no brakes!

Monday morning, first thing I did was go out and get the brakes fixed while looking for a new bike. The ride itself towards the bike shop was a rollercoaster filled with moments when I thought just the rear brakes wouldn't be enough to stop me if I needed, so I rode all the way there at half speed and pressing the remaining brakes all the way - not saying it helped much. I got there in one piece and the guy said he had one last Fuji Track Classic left, with end-of-summer discount. He fixed my brakes in three minutes and told me to come back in an hour, to test the new bike.

With an hour to kill, I went towards Jericho Beach. It was an incredibly sunny day and after exploring some trails here and there I just laid back and roasted a little under the Sun. Felt great.

Back to the shop, the new bike was like a dream. Less than half the weight of the old one, singlespeed, working brakes, beautiful, really. Now I had the issue of having two bikes to bring home. Of course I took the new one back first. I still had VIFF screenings that evening so the plan was to catch a bus from home, get to the old bike, take it to the theatre with me and then home.

The only problem is I thought I was going to a movie theatre one kilometer away and with less than half an hour to the doors' opening I realized the theatre was actually TEN kilometers away. Now THAT was a proper send-off for the old bike. I swear I never thought I could go so fast with it. Google said I would take 25 minutes on the ride, I did it in fifteen. Lucky for me there weren't a whole lot of uphills. By the time I locked the bike onto a rack I was soaking wet - and no, it wasn't from rain. I was still radiating heat for good twenty minutes after that.

As the cherry on top of such day, the movie was amazing (La Isla Minima, or Marshland, mentioned in the previous post).

Oh, the title is the name of the new bike, this beauty here.

Day-to-Day

VIFF is Over.

October 10, 2015

Ok, it was over yesterday evening and now I can sit down and write a little. Since it started, on September 24th, I've watched seventeen movies - not all of them part of the festival (4 regular Hollywood flicks). The main connection between the 13 I saw from the Festival's schedule is they don't follow standard Hollywood plots, timing, style and all that. Some of them blew me away while I was still in the theatre, others just a few days later, and some I'm still processing and thinking about. An amazing thing that resulted from watching this many films in such a short time is that I really got into thinking about film theory, history and language, stuff that it was kind of stored away since the beginning of my journey towards my film degree.

Ok, enough of random talking and into some of my favorites.

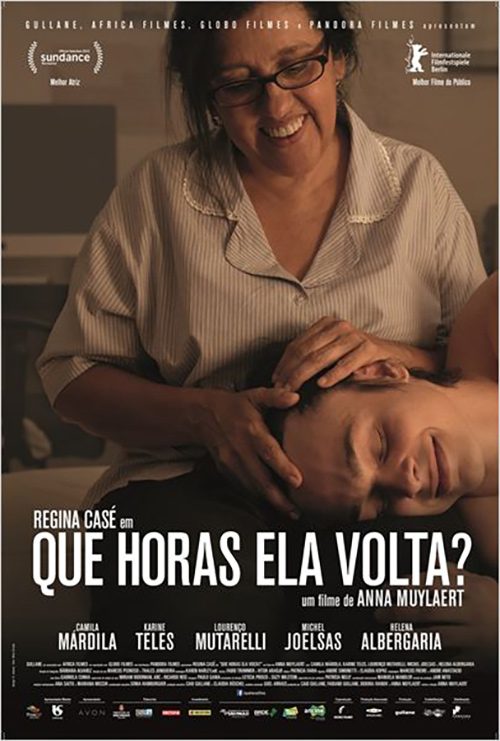
1 - Second Mother (Que Horas Ela Volta? - Brazil)

Of course the first one had to be from Brazil. It pictures an almost palpable reality, with characters that any brazilian can relate to. I felt like I knew real people to match all of the characters on screen. It starts out playful and fun and then it takes a turn towards tension that isn't the "horror, life or death" kind, but more of a social thriller, with conflicting classes clashing in every scene, dialogue - or lack of dialogue at all. It's hard to explain what it really is about for anyone who doesn't know well how things work in Brazil. It's a film that packs a punch and I'm really proud of it - even though I have no real link with it except the fact that I'm also Brazilian.

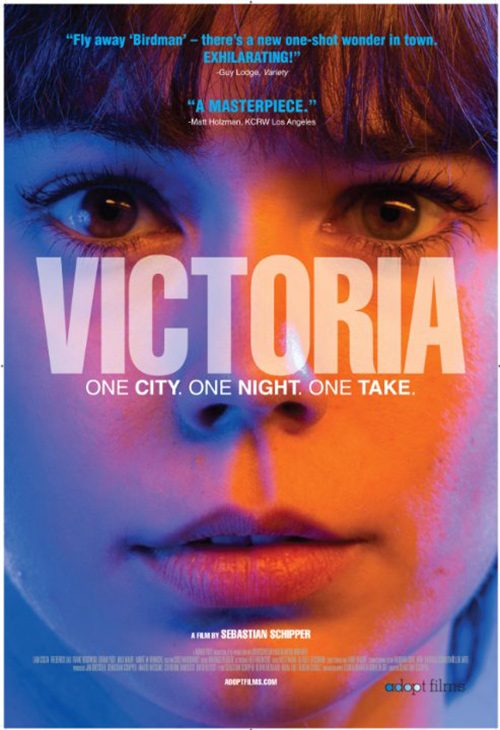
2 - Victoria (Victoria - Germany)

I didn't read the entire synopsis for this one before watching, it won me at the very first line: "shot in a single take". As a cinematographer, that alone was enough to justify it, but I wasn't expecting much, specially because it starts really light and "silly" for the main characters are young and playful. Not cutting even once for its almost two hours and twenty minutes already gets you on the edge of the seat simply because you have no clue of what might be going on in different environments - and yes, you have plenty of reason to worry about what's going on someplace else. IMDB synopsis spoils the main plot twist which was a hell of a surprise for us (May and I). The thing about continuous shots is they get harder each passing second since new things are happening and there's so much that can go wrong. Hm, you know what? That kind of sums up the movie way too well. It's the kind of film that as soon as it's over, you just wanna watch it again. Oh, and the FIRST name in the end credits is the cinematographer's - Sturla Brandth Grøvlen. Not the cast, not the director or producers, the cinematographer and yes, he deserved it.

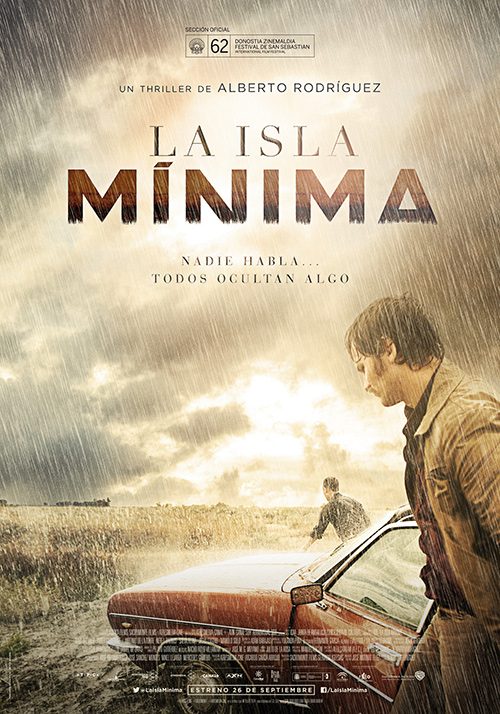
3 - Marshland (La Isla Minima - Spain)

It's like a spanish take on True Detective, without the excessive talking, and delivered from start to finish in under two hours. It has an amazing visual style, set in the 80's, shortly after Franco's dictatorship is over. We follow the investigation led by two detectives with very different styles of handling the missing persons's case they're working. It's a movie that requires your full attention or you're gonna miss out on some important details. It lacks Hollywood's obvious style of handling crime movies, which is a great positive point. This one is also already on piratebay, if you feel like downloading stuff, though it's totally worth of watching in the theatre.

4 - Anomalisa

I found out about this screening by chance, during one of the most empty movies I watched. It was not even noon yet, and the guy introducing the movie mentioned that a Charlie Kaufman single screening had been added to the VIFF list. I sent May a message and bought the tickets right after that movie, we knew it was gonna be full and we weren't wrong. Shortly before watching it May told me this was a Kickstarter funded film, with Dan Harmon (from Community) as one of the Executive Producers. The movie is all stop motion and it has quite a unique look among all the animated movies I've seen before. It felt like watching an epiphany unfolding before my eyes for 90 minutes. Beautiful, crazy and unlike anything you watched so far. I'm not gonna spoil it, just watch it when it's out!

Day-to-Day

Just a Few Lines.

October 5, 2015

Before yesterday I tracked Fernão with my camera while riding a smooth downhill with a beautiful lens and amazing sunset.

Yesterday I managed to fall on my bike - again - and broke my front breaks.

Today Lila - my sister - managed to use a whatsapp audio message I sent her as proof she could retrieve some documents at the university where I studied.

I've been more times to the movie theater in the past two weeks than I did in the entire last year.

Anamorphic

Anamorphic Chop Shop - Flare Filter

October 4, 2015

A quick, cheap and dirty tutorial on how to achieve streak flares with any lens and save a lot of money by NOT shooting anamorphic.

USEFUL LINKS:

All the RED links on this post are part of eBay's Partner Network, so if you purchase anything through them, you're helping me to keep this project going.

You can support this project on Patreon. Make your contribution and help the Anamorphic Cookbook!
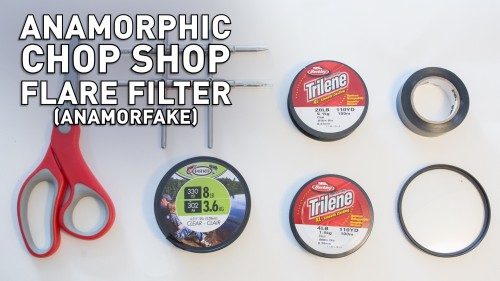
What's up ladies and gentleman? Tito Ferradans here for a very easy - but useful - chop shop episode. This time we'll be making a flare filter for less than ten bucks. Our magical ingredients are the cheapest UV filter you can find, fishing line, tape, and scissors if you don't have super teeth that can cut fishing line. I know this is a common trick, but the way it works is a much less common explanation. Let's get this thing going and I'll explain over the process.

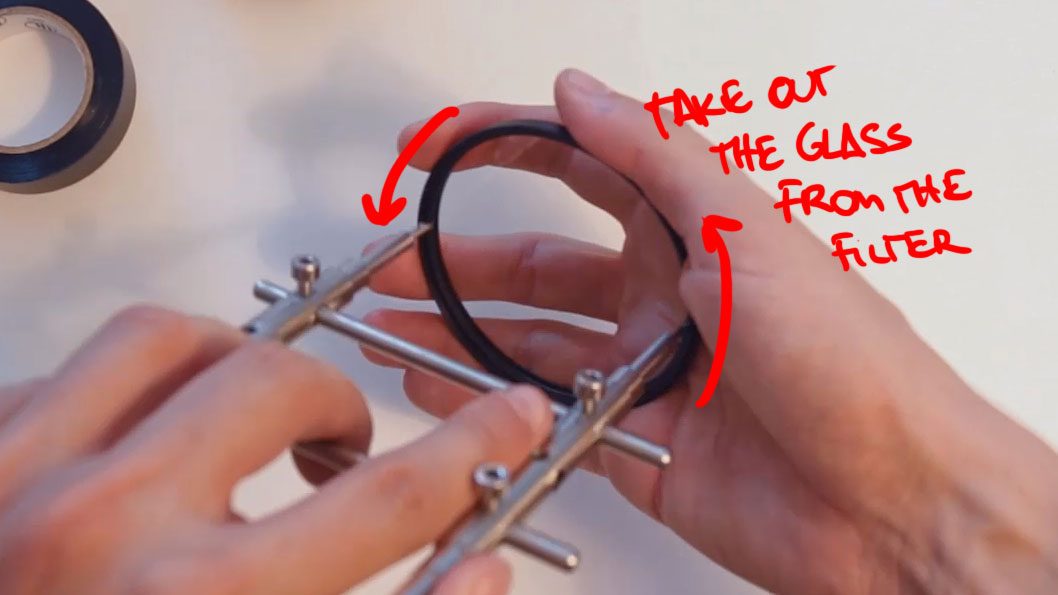
First, remove the glass of the UV filter. You can simply unscrew it or break it. The one I'm using is 77mm because it's big and should cover all my lenses. You can make several, don't worry about it.


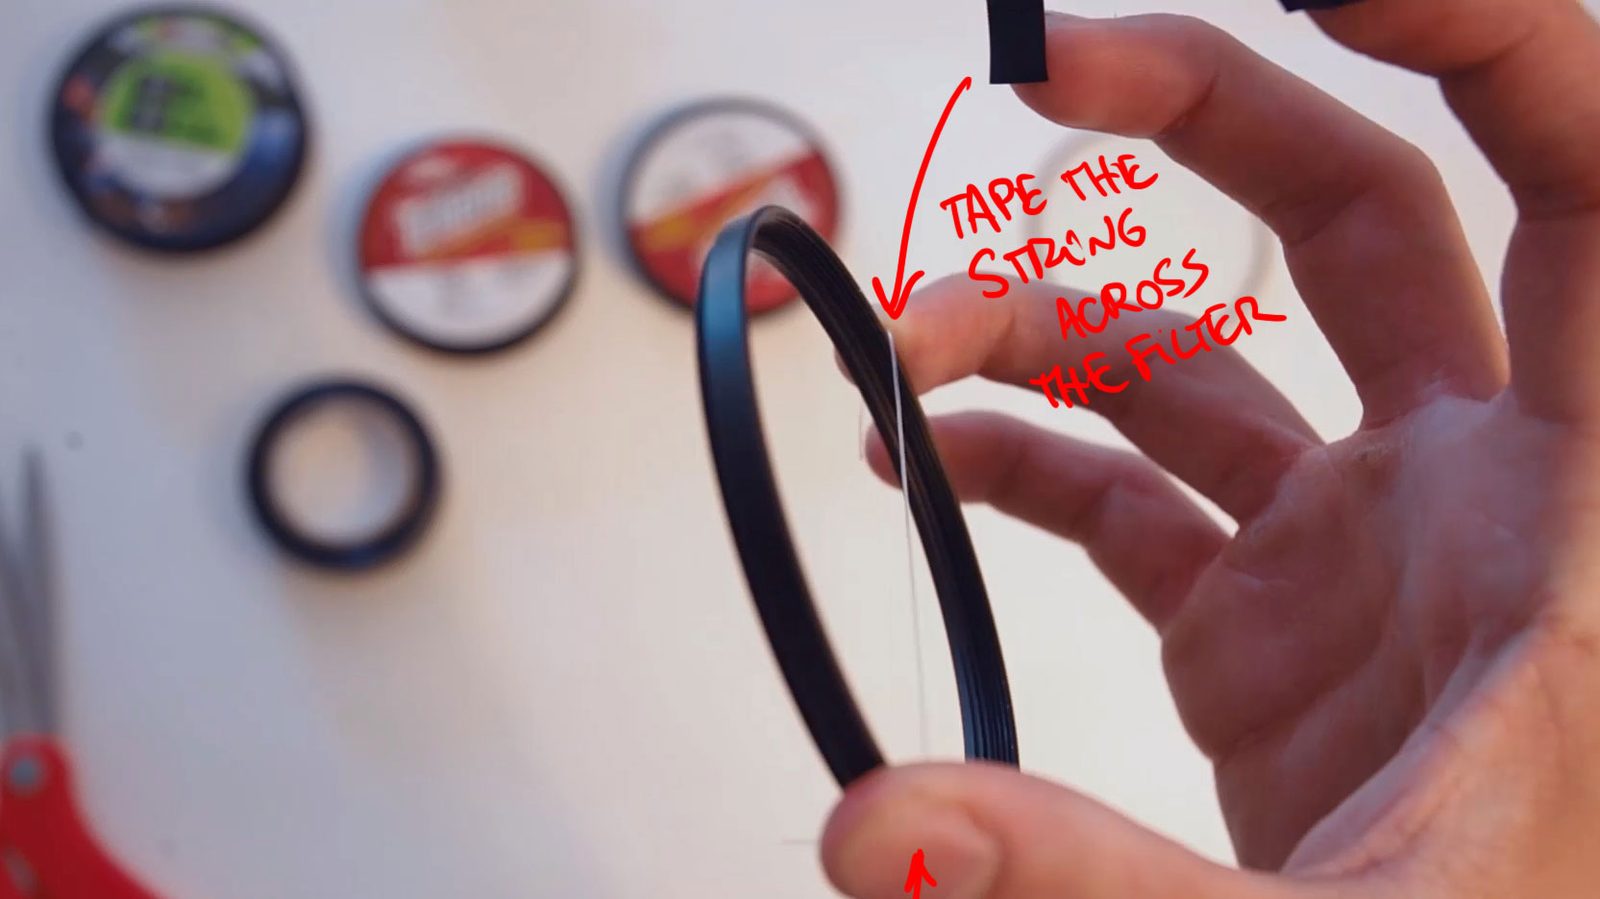
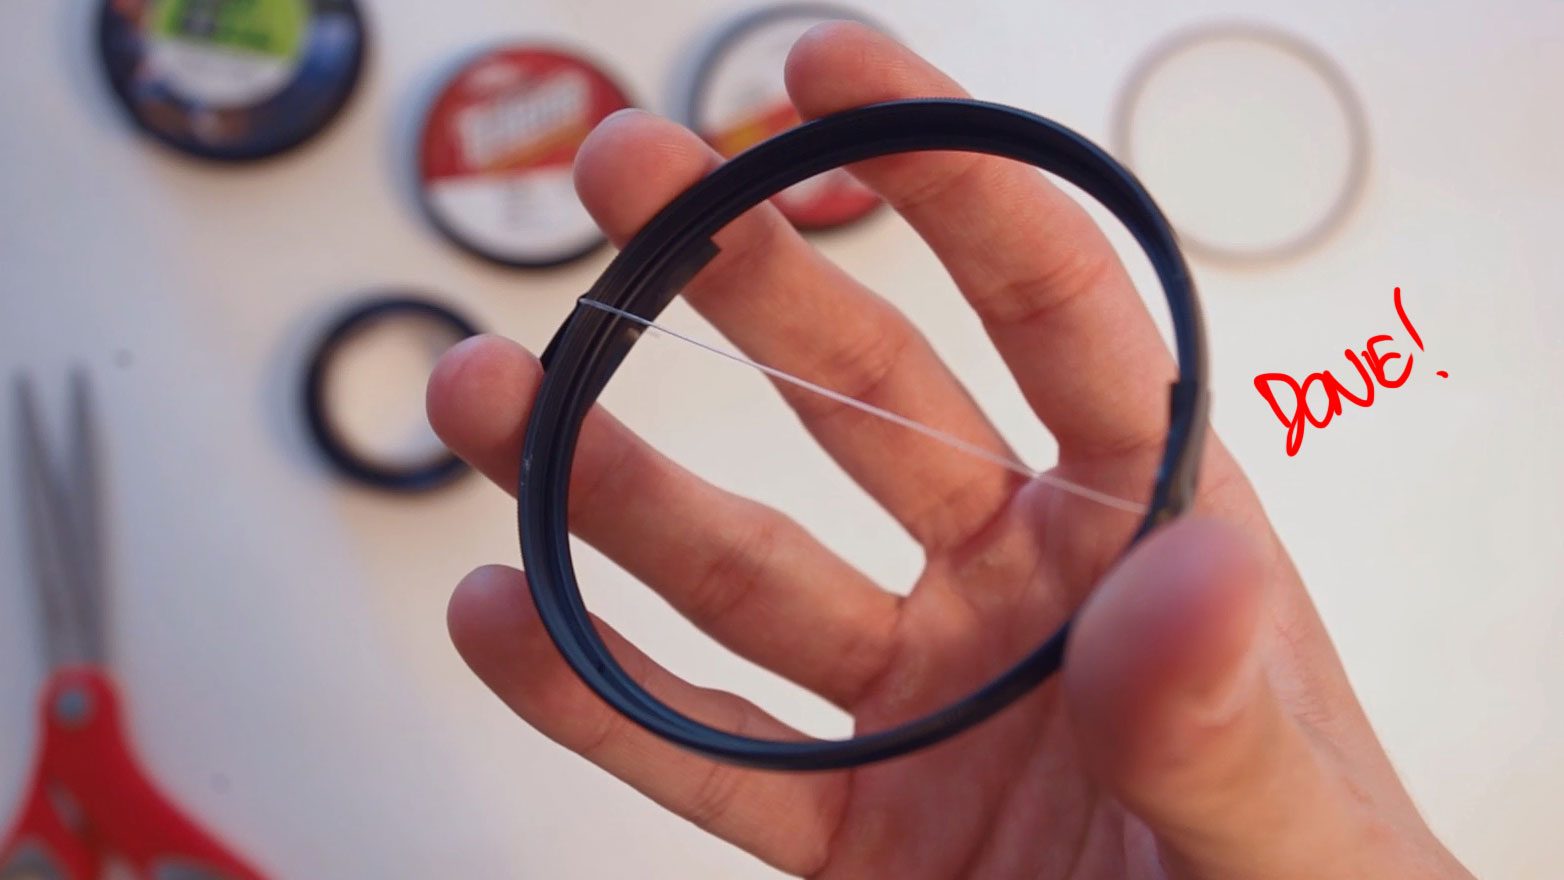
After removing the glass, cut a piece of fishing line that's just a little larger than the diameter of the ring. Tape it to the ring. Boom, done! Now that I thought about it, a Circular Polarizer would be better since you can adjust the direction of the wire. Scratch that UV I mentioned before, go with a CPL. When putting this in front of your lenses, you have to align it VERTICALLY, so your flares are horizontal.


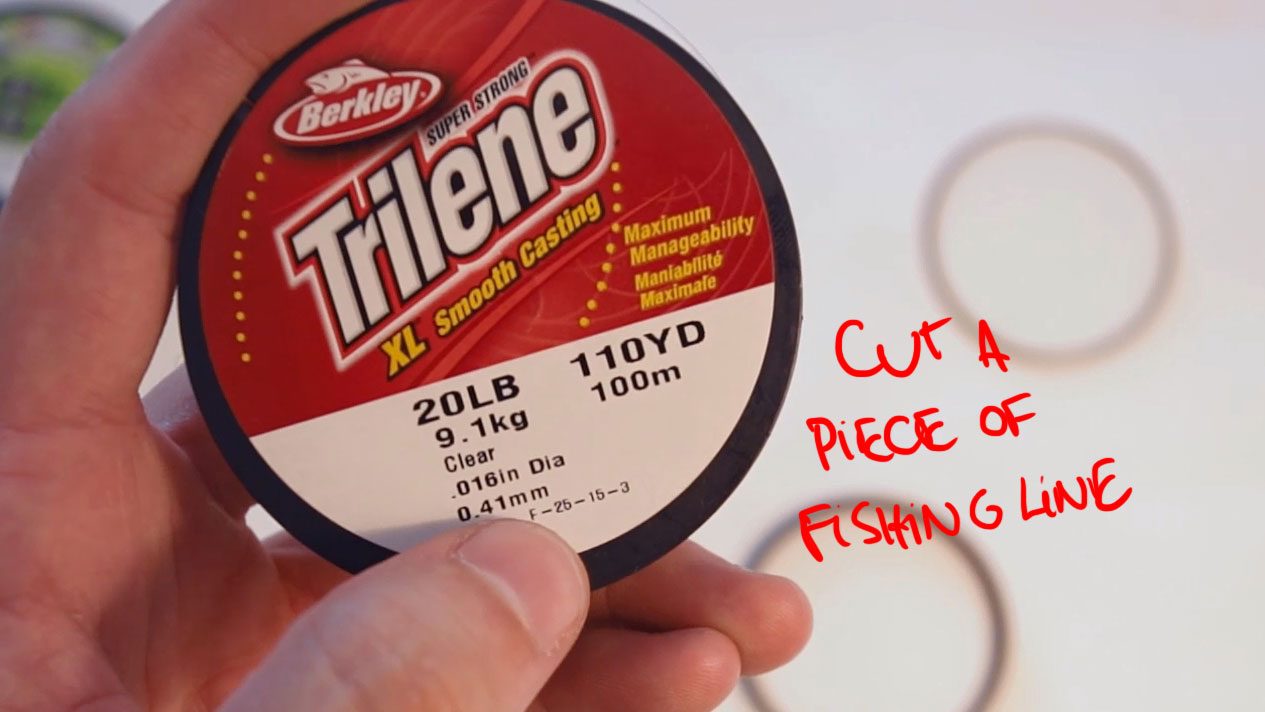
Ok, a few notes on that: first, the diameter of the line affects the flare. The thinner it is, the subtler is the effect (subtler, does that work exist?). There is a huge number of different diameters for fishing lines, choose your favorite. I got three here, 0.2mm, 0.28mm and 0.41mm. You'll see the difference in the tests.

Another option, if you don't care about getting a little tape on your lenses is completely ignoring the CPL filter. Tape the line directly to the lens. The downside is you have to do it for every lens instead of simply swapping the filter.

Some people like doing this with several lines across, instead of just one in the middle, which causes stronger flares based also on the spacing between the lines. You can also tint the wire with markers so you have colored flares, as easy as that! Using regular wires will get you flares with the color of the light source.

Now for the bad side of using such trick. The most noticeable one is that you'll get a line in your bokeh, or several lines if you used a whole bunch of them. It can start to show on any kind of highlights as well, since the lines are actually blocking light to reach the sensor.

And how the heck does this work? Why can't I simply use regular threads instead of fishing line? Because fishing line is transparent and is denser than air. So when the light changes mediums from air to inside the line, it refracts. Some beams of will get in at a very magical angle and literally be trapped inside the wire unable to get out until it reaches either the cut at the top or the bottom. If you notice, the flare is always perpendicular to the wire AND always start at the light source. That happens because the light coming straight from that source will hit the wire. Some beams will go inside of it, and will not appear on the resulting image. The ones that DON'T get in are the ones causing the flare.

From optics, the Law of Reflection states that a beam will be reflected at the same angle which it hits the barrier. The barrier being the wire, the light can only reflect horizontally and THAT is what causes the streak flare. I hope this made any sense. If not, comment below and I'll try to come up with better wording or visual examples!

Now that this is done, it's time for you to try it out and enjoy this cheap trick. For me, I guess I should start a career in fishing, for I have over 500m of line here and each filter uses less than 10cm... Tito Ferradans, going fishing, see you next week!

Day-to-Day

I'll Be Right Back.

October 2, 2015

I've been a little absent here lately. Blame it on Vancouver International Film Festival. I'm watching tons of different films - almost two every day since it has started -, besides all the writing/shooting/editing of test videos for anamorphics and the likes of that - I have seven new episodes in the making. I'm picking up the pace again soon and should be back here by the end of next week. Lots of new subjects and ideas to write about but really lacking the time to do it with the depth I want.

Day-to-Day

Hold on Tight...

October 2, 2015

This ride is a wild one.

Now don't lose your fight, kid,
It only takes a little push to pull on through,
With so much left to do;
You'll be missing out, and we'll be missing you.