Anamorphic

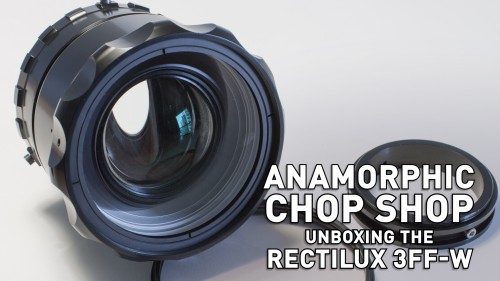
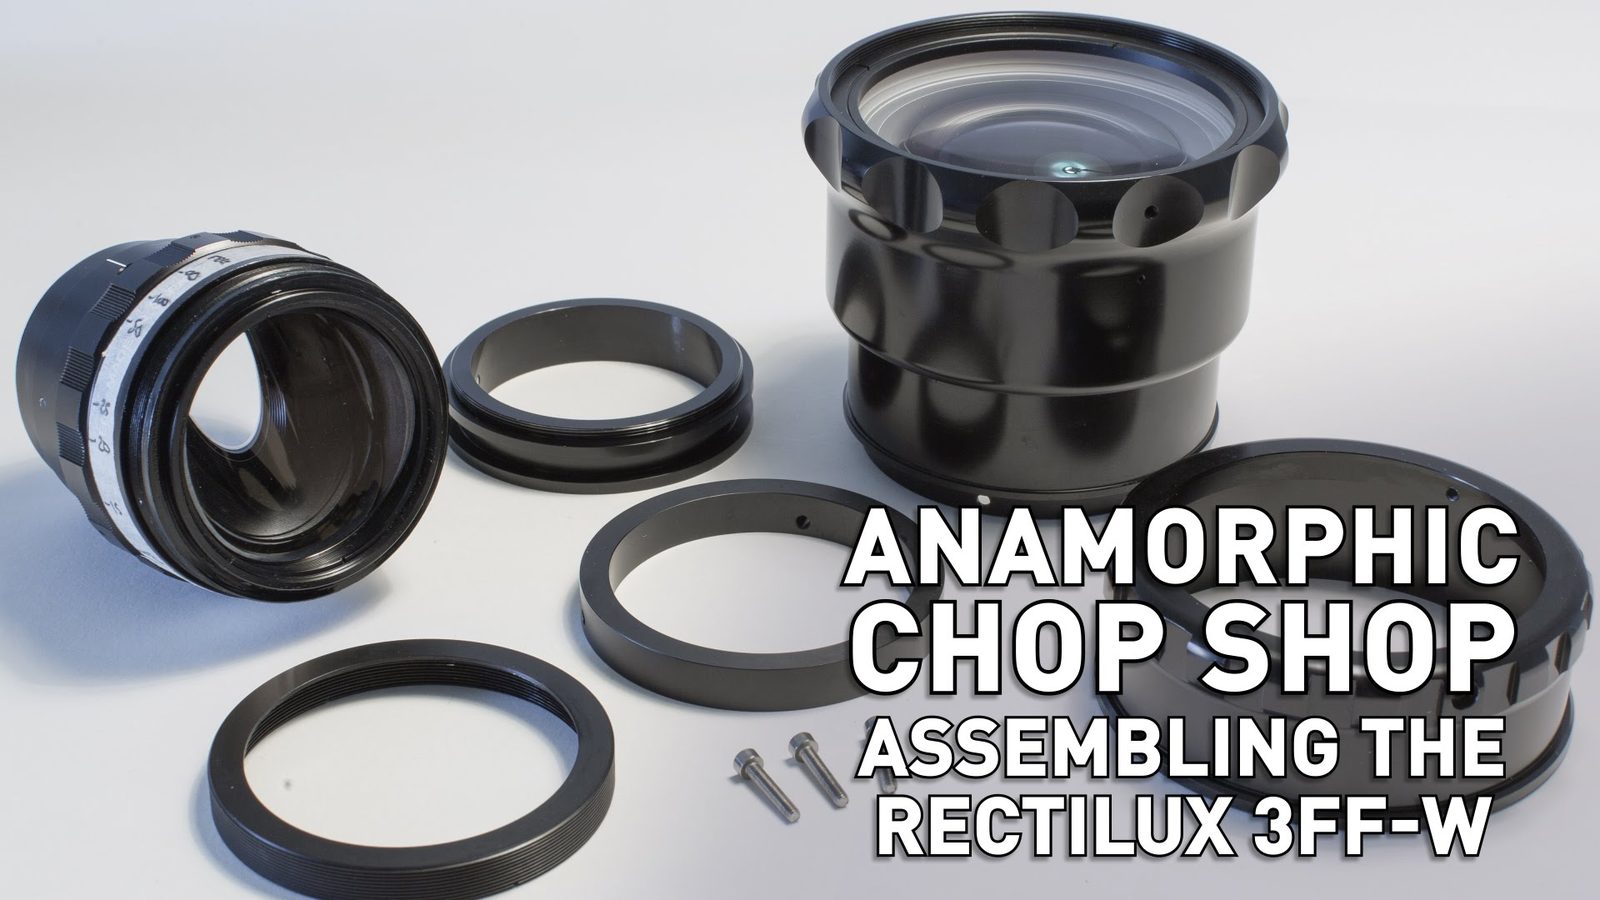
Anamorphic Chop Shop - Assembling the Rectilux 3FF-W

July 25, 2015

This is a quick, though detailed, tutorial of how to fit your Kowa Bell & Howell inside the Rectilux 3FF-W. I'm following all the steps from the Owner's Manual. Check my channel for more information about the Rectilux and anamorphic adapters in general!

USEFUL LINKS:

All the RED links on this post are part of eBay's Partner Network, so if you purchase anything through them, you're helping me to keep this project going.

You can support this project on Patreon. Make your contribution and help the Anamorphic Cookbook!

Hey, I'm Tito Ferradans and this is Anamorphic Chop Shop. This is the second video based on the Rectilux. This time I'll be showing you the assembly process for the Kowa Bell & Howell.

I'll be following the instructions exactly as described in the Owner's Manual. You can download it to check the instructions for all the lenses at my blog. It's good to highlight that each lens has specific instructions in order to fit inside the Rectilux. Some are simpler, some have more steps than the Kowa B&H I'm showing here. According to the manual, the Kowa is the widest scope available, cool!
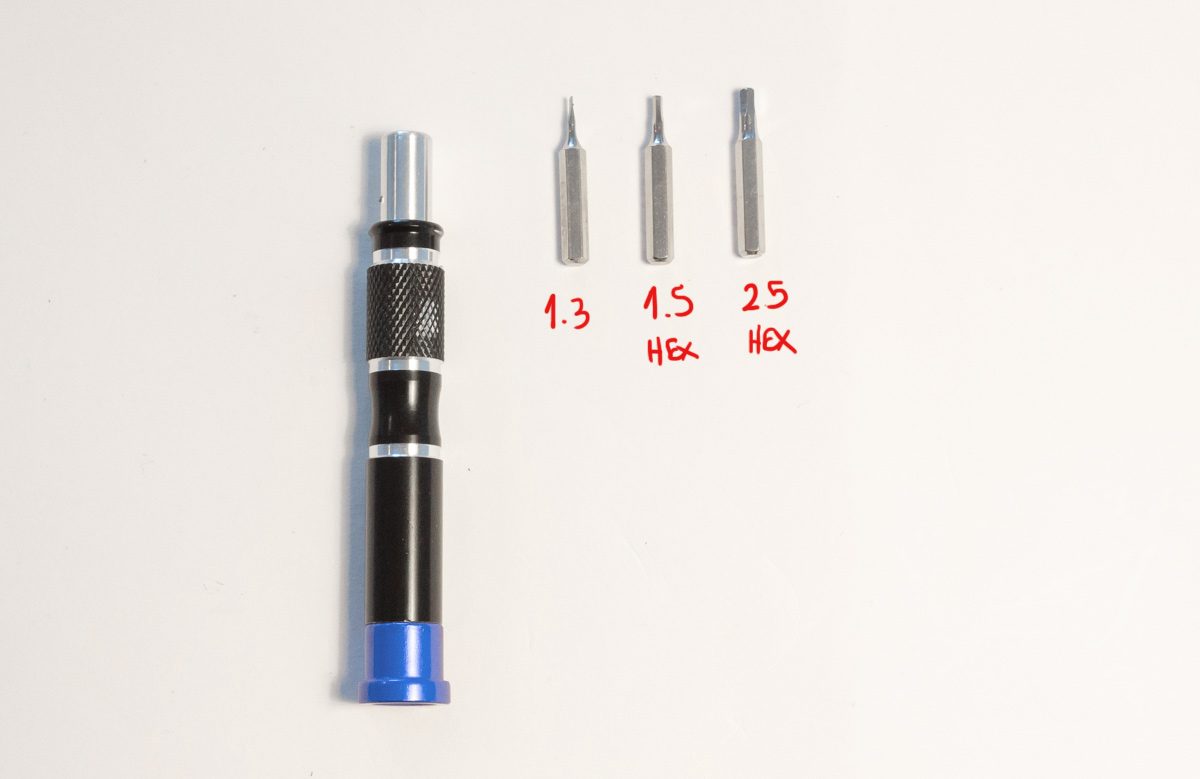
First step, set the Kowa to infinity and remove these three tiny screws. Then, turn the stop ring anti-clockwise to remove it. Store it safely along with the screws.
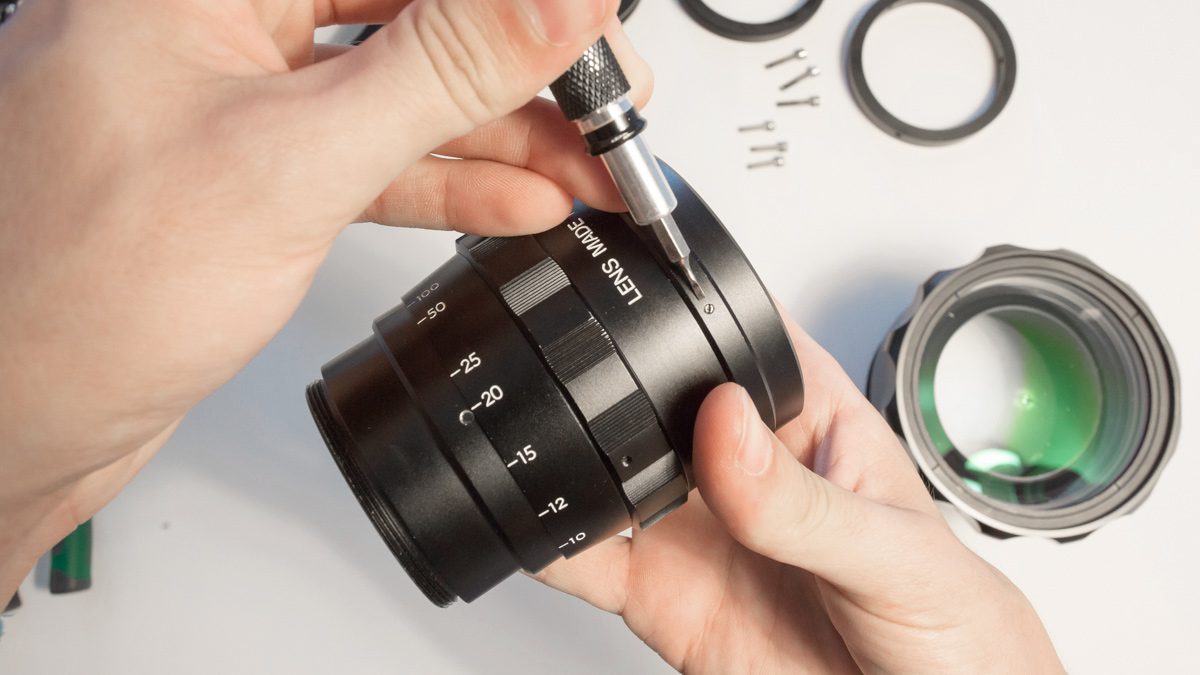
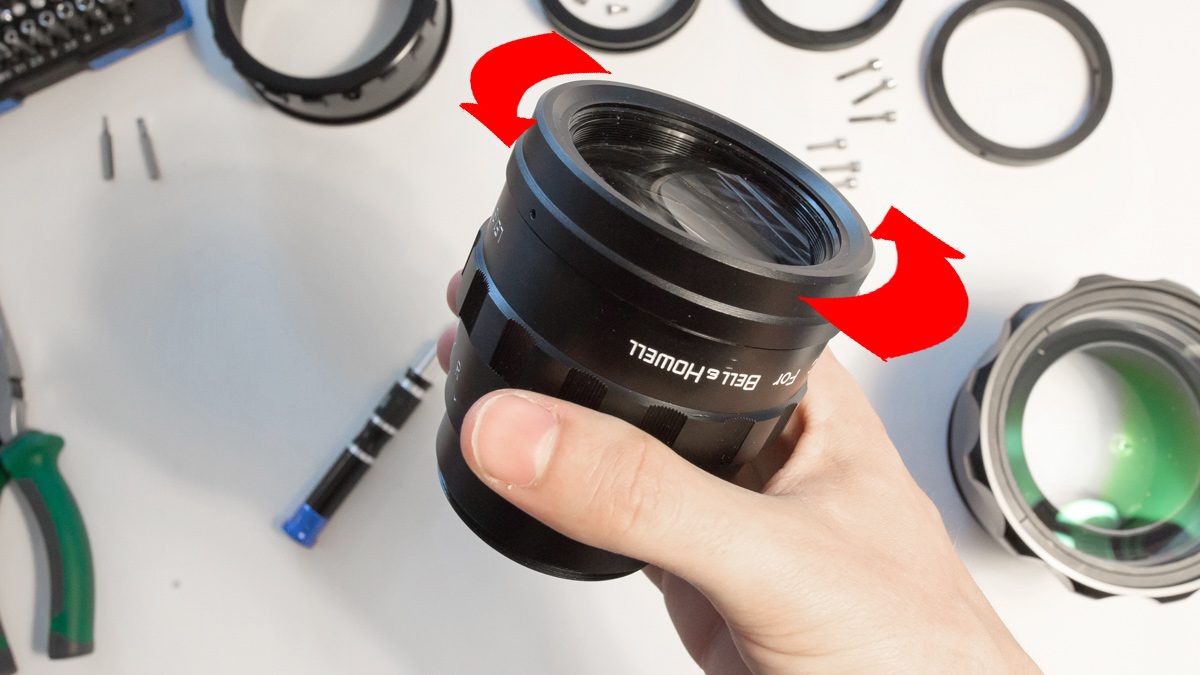
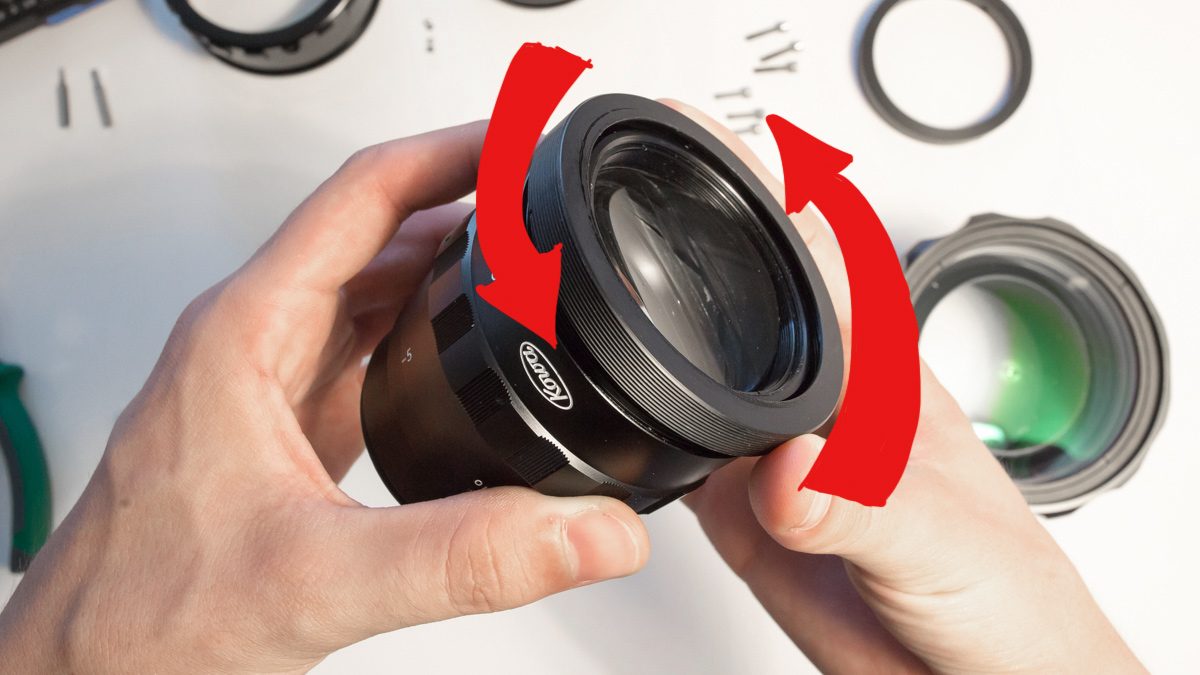
Second step, attach the Rectilux's front coupling ring, the wrench slots - these little cuts here - facing the rear, to where the Kowa's stop ring used to be. The manual warns me to wear a glove, since fresh machined threads can be sharp, but my hands are already pretty rough, besides, if there's a blood splatter in this video, I'll get tons of views as "idiot cuts his hand and bleeds over expensive optics". Be careful not to cross the threads, like when it becomes super hard to keep the ring rotating, but you can see it's not even halfway through, or filters that get stuck, that kind of thing. The tightness of this ring will affect the torque you'll need to focus the Rectilux, adjust it as you want. I'll go for a very smooth operation and stop as soon as it offers some resistance.
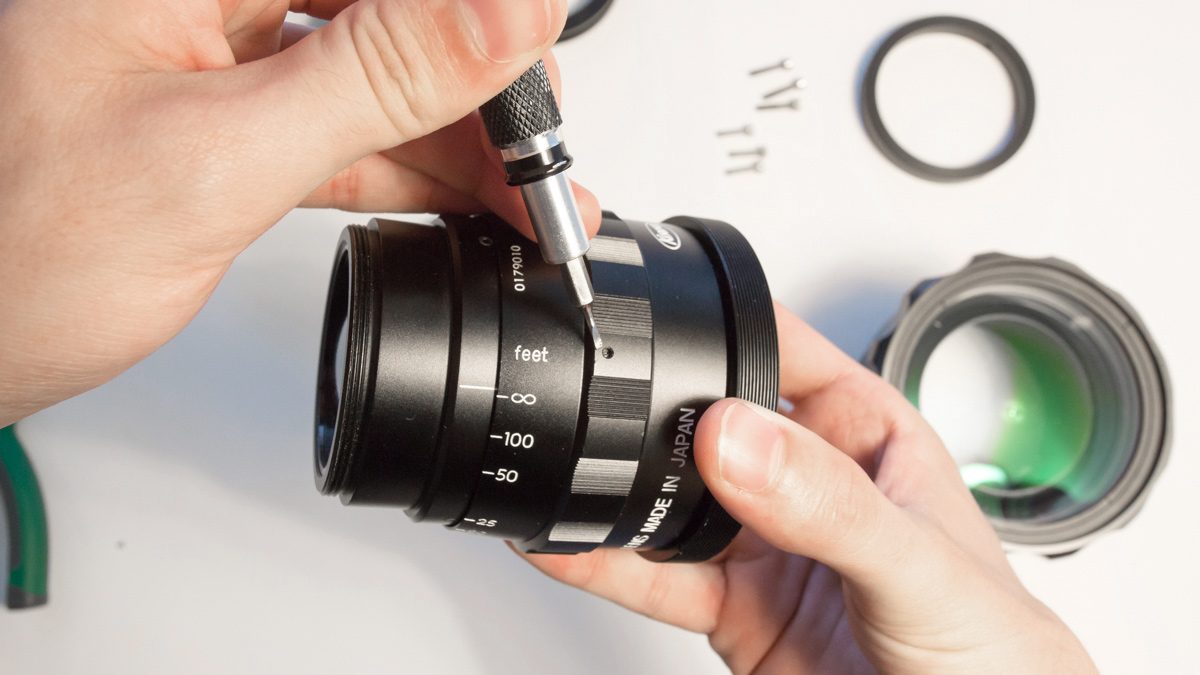
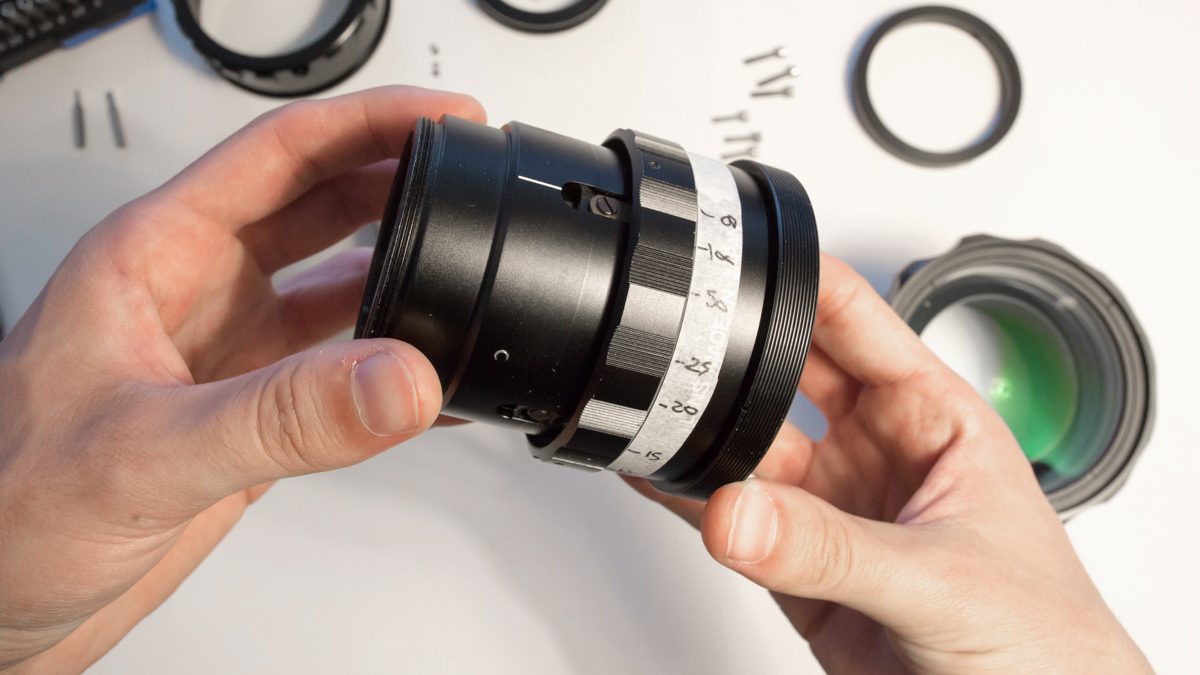
In order to have the best performance inside the Rectilux, I have to remove the distance scale on the Kowa. The manual tells me to remove these screws here and here, also saying that this doesn't affect the lens' working mechanism. It also hints me to copy the focus scale onto a piece of vinyl tape and permanent marker, where the Kowa name is. I'm cheap, as you should know by now, and have neither vinyl tape nor permanent markers. I'll use regular tape and a ballpoint pen. Don't judge me.
Completing these steps will get you a Rectilux Ready Kowa, or St. Kowa. Hell yeah. Moving on...
Now, on the Rectilux itself, check if the optics are properly secured. If not, fix it using a lens wrench, but don't overtighten it. Then, fill ONE - only ONE, not two, not three - of these little holes here on the finger thingies. This will leave you with TWO empty holes around the ring, that's just how it's meant to be. One thing you might notice is the Rectilux doesn't have focus marks. John proposed a "clampable" ring, if enough people are interested. I surely am!
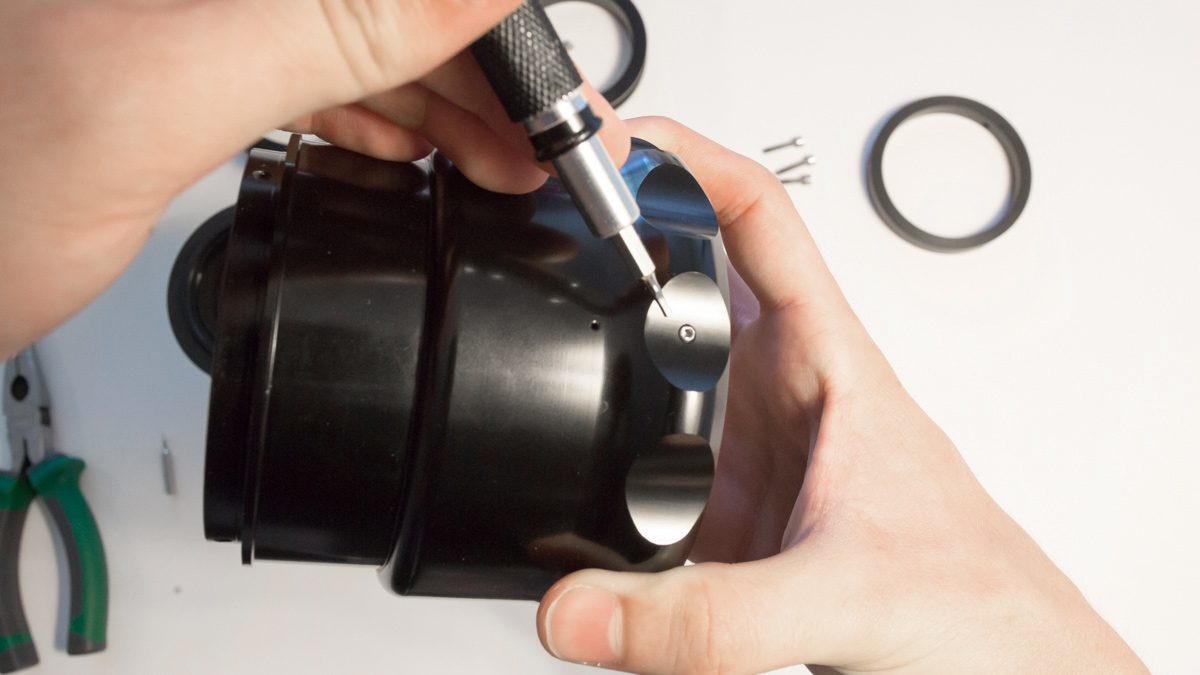
Now, mount the focus guard. It's pretty easy to figure out the correct M3 screws. Just insert them enough to hold the focus guard in place. There's still some action to go down here.
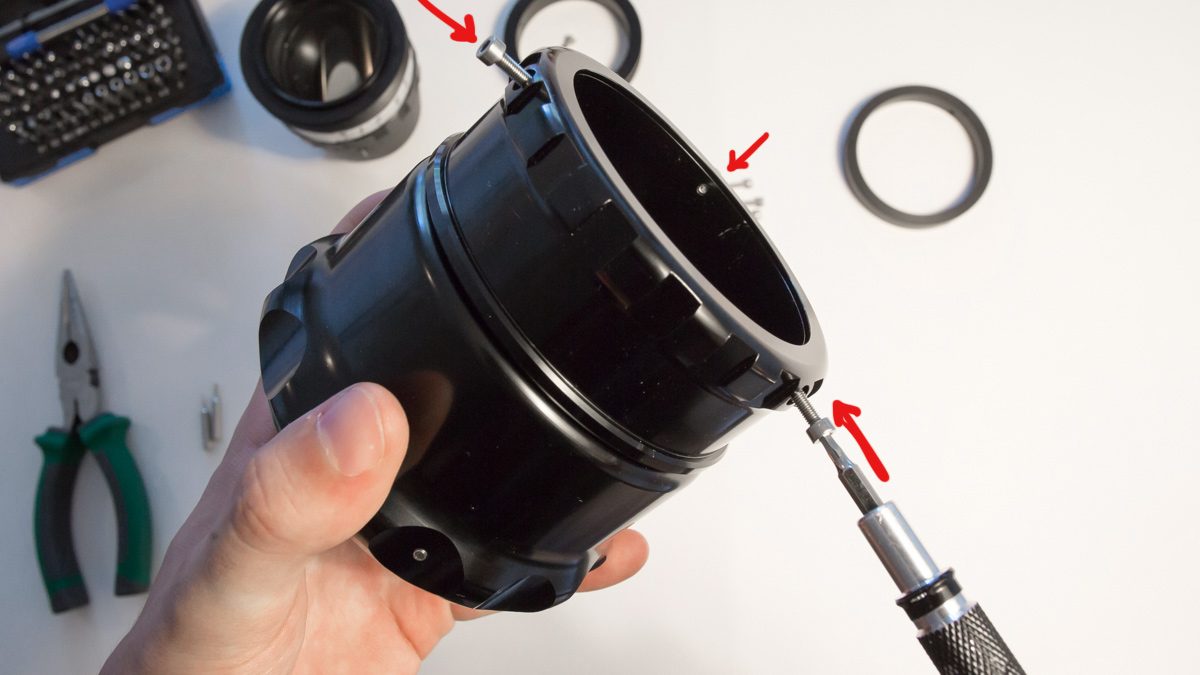
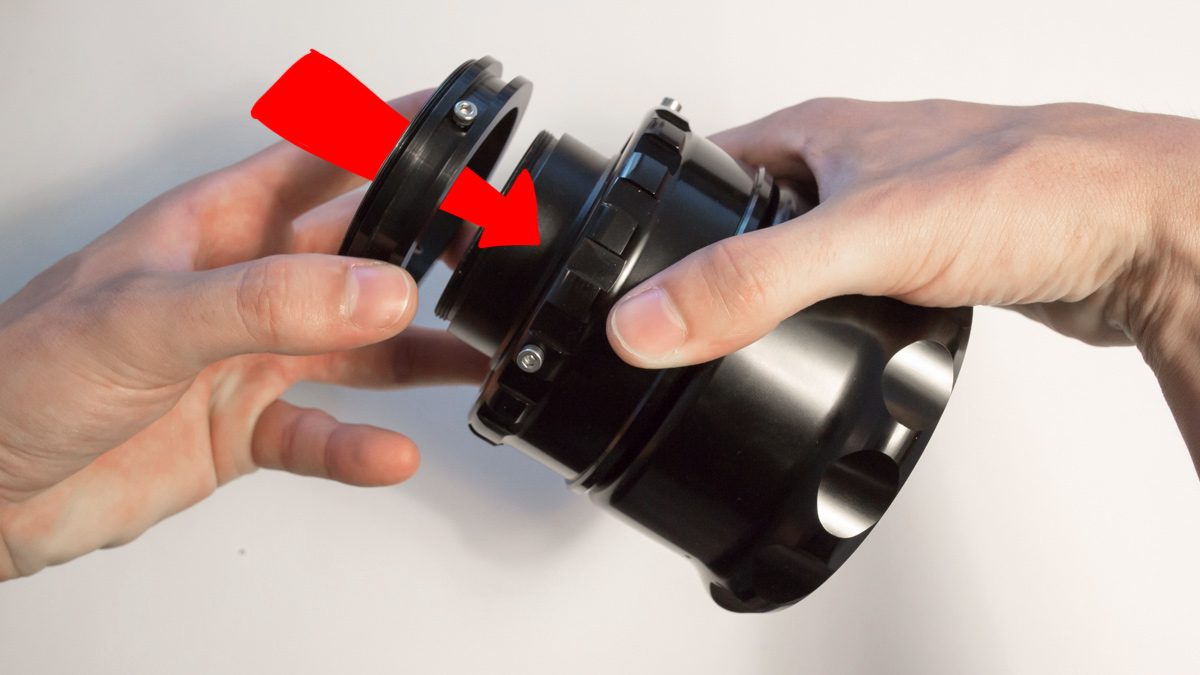
The next step is to finally insert the Kowa inside. The outside 75mm threads will match the inner thread behind the front optics and that will be perfectly neat. Careful, again, not to cross the threads. It takes about ten full turns before the coupling rings are fully threaded. So, that's working just fine. If it becomes stiff before that, you probably crossed threads. Remove and restart, never force it.
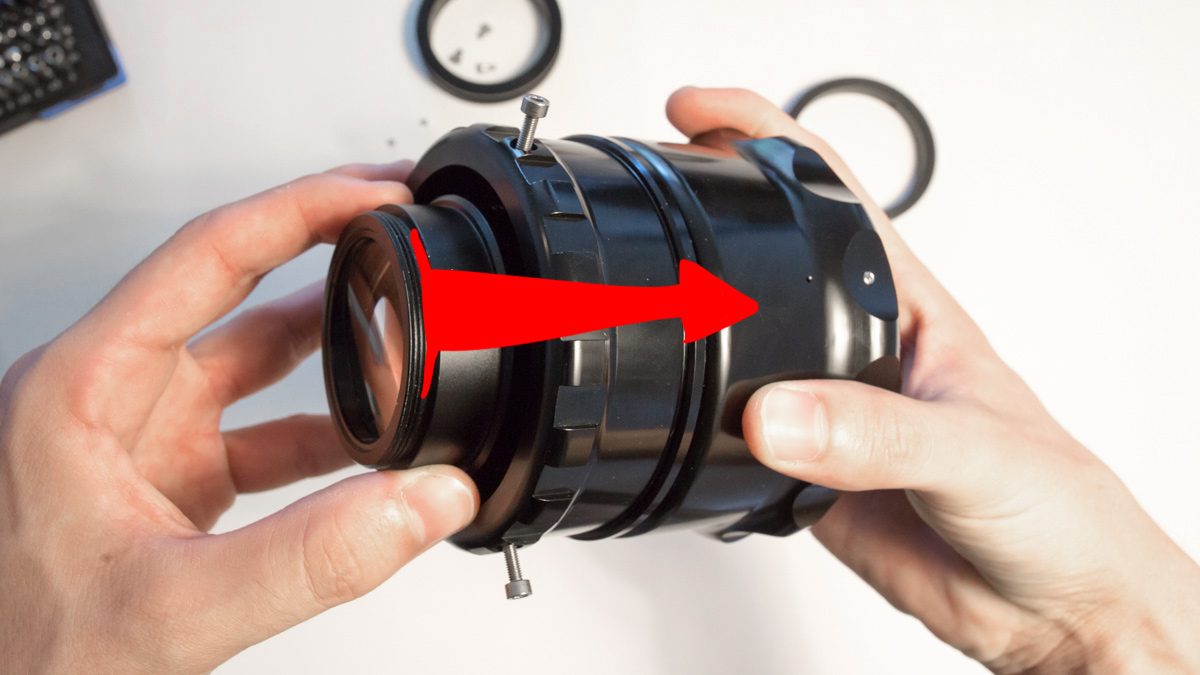
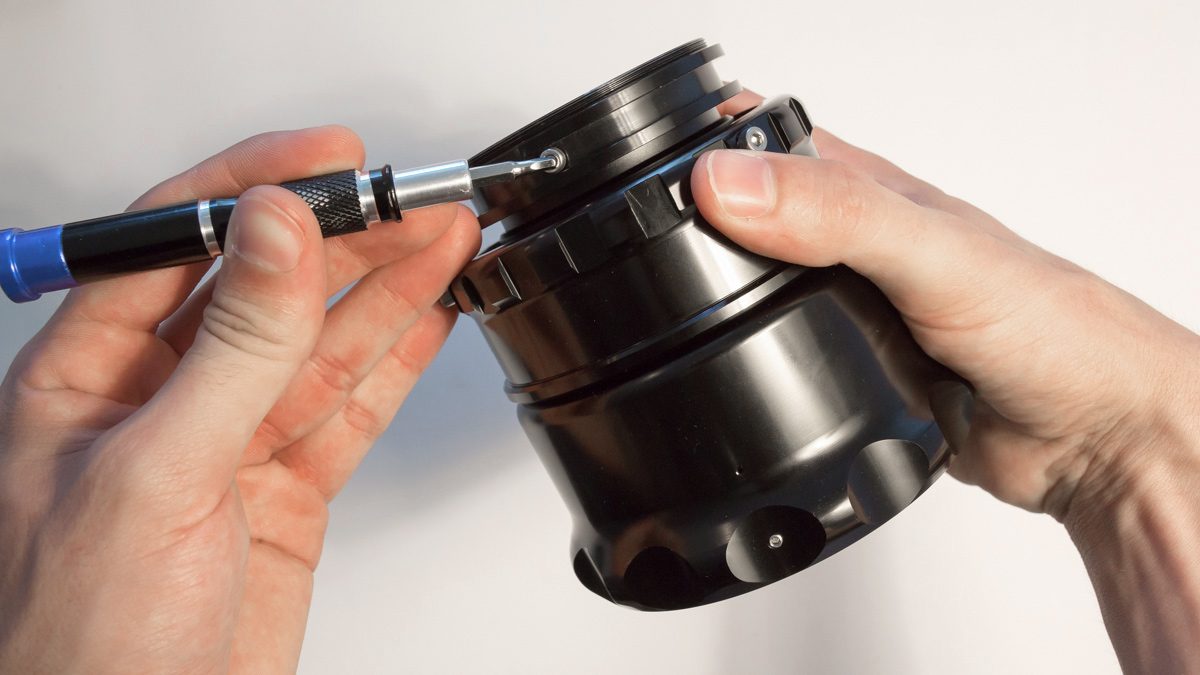
This is the hardest step in the whole process. I have to fit this ring around the Kowa, while matching the holes for the screws around the focus guard. Trust me, it can take about the same time it took me so far just to get this little part working. Phew, that was fun! Now the screws are holding the Kowa in place, preventing it from rotating inside the Rectilux and messing your alignment.
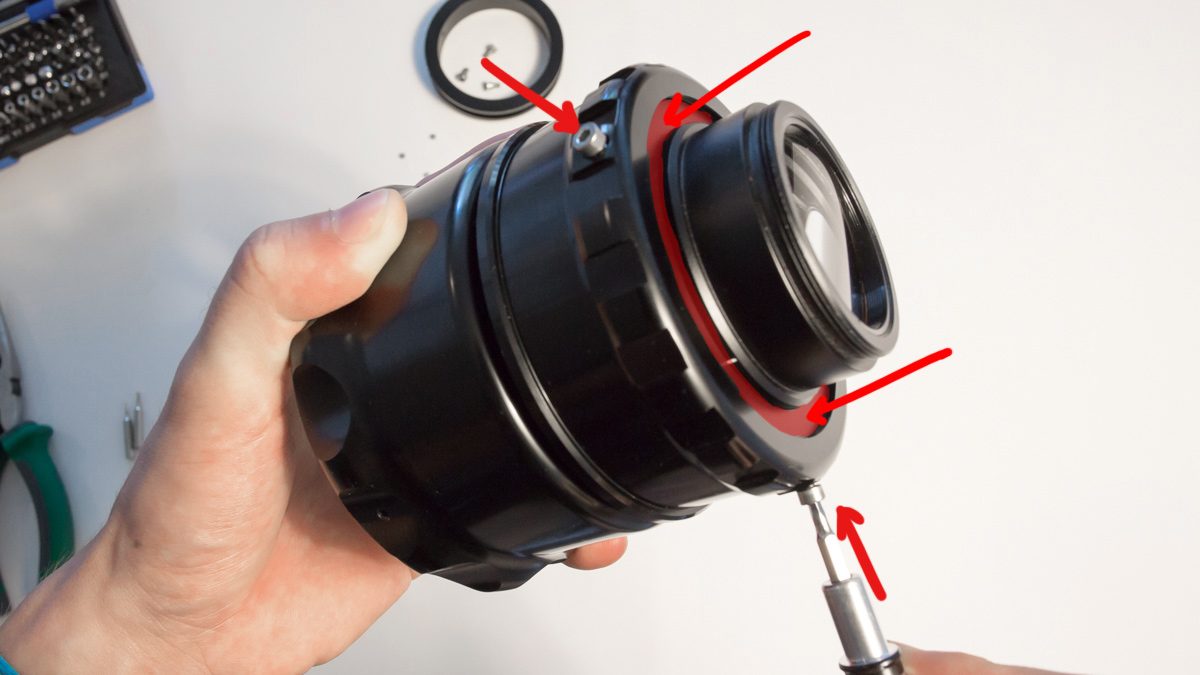
Finally, slap in the Rectigrip and use just one of the small M3 screws to secure it in place. You'll be tempted to use two. Do not. It makes the grip weaker since it can rotate along the common axis shared by both screws. Be careful and always triple check if the grip is firm enough. The screw is tiny and it can fool you sometimes.
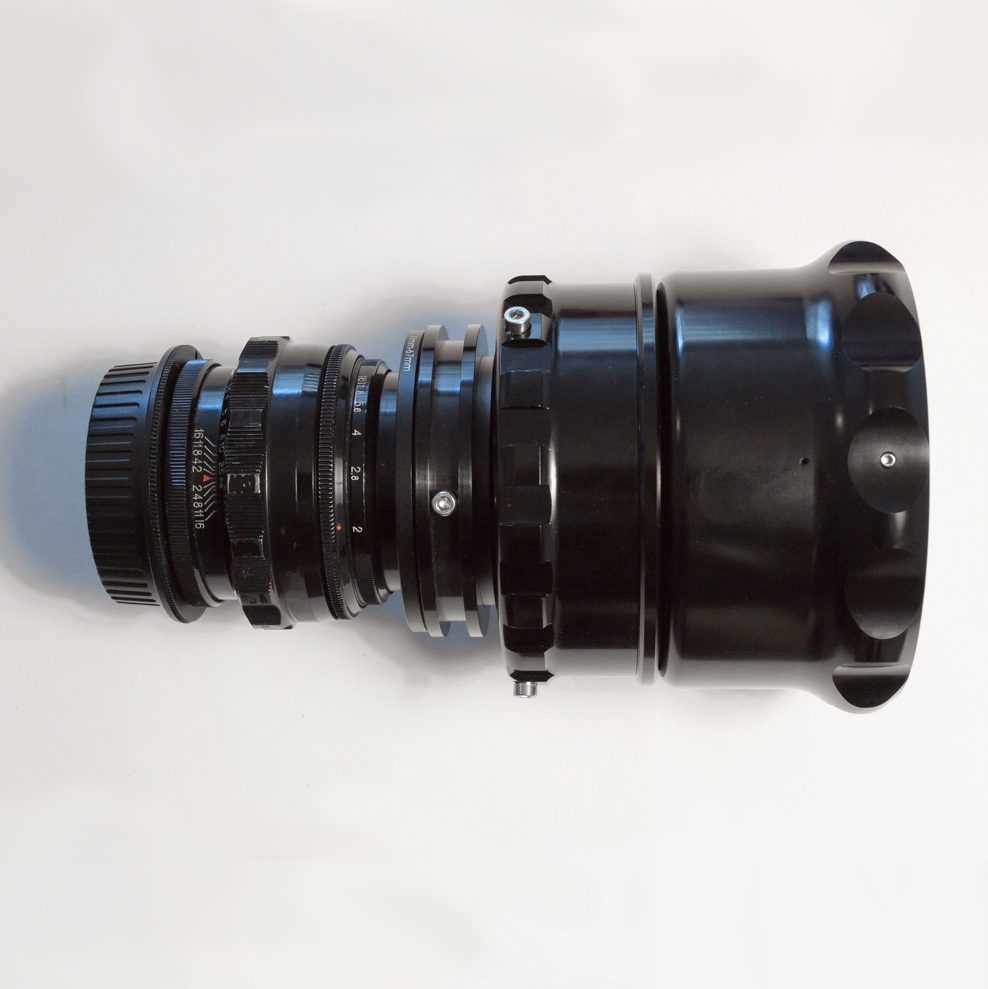
And that's it! Now you just attach this to your taking lens, align it by loosening the screw in the Rectigrip, tighten it back and then go out to shoot, focusing on the Rectilux! Have fun! Subscribe for more anamorphic content and check my blog to read the full Anamorphic on a Budget guide! I'm out.
Day-to-Day

Cinto Muito.

July 25, 2015

Desde tempos imemoráveis minhas calças e bermudas são folgadas demais. Uso um cinto e é isso aí. Meu normal, antes de vir pra Vancouver era sempre fechar no terceiro furo. Quando fui pra Salvador tava no quinto, e ainda assim, meio folgadinho. Vocês não sabem a alegria que pra mim é vestir uma bermuda e ela NÃO cair! Tô de volta no terceiro furo, caminhando pro segundo, e dá até pra esquecer o cinto em casa uma vez ou outra.

Quando me olho no espelho, já não vejo as costelas desenhadinhas por baixo da pele.

Life is fucking good.

- percebi que escrevo muito mais quando moro sozinho. que loucura, acho que o mundo é meu amigo.

Day-to-Day

Décima Primeira Temporada.

July 24, 2015

Tava com as fotos incríveis que Lila e eu fizemos por aqui e não queria tentar forçar elas a funcionarem com o tamanho padrão do topo do blog então, como diria Rita Lee, resolvi mudar.


11ª Temporada: I Just Wanna See You Be Brave

Como sempre, esse post serve só pra registrar a mudança. Agora vou tentar escrever um outro muito louco, envolvendo muitas músicas, estado mental, planos e por aí vai. Vamos ver se sai.

Specials

The Legend of Kagan's Bono.

July 22, 2015

The story below is a midnight inspiration for an inside joke among no more than three people in 3D111. I've put too much effort into the writing and didn't want to lose it, so here it is. If you don't get it, don't worry, just enjoy the narrative for itself. It all began with this video and youtube's automatic subtitles, at the 1:03 mark.

--

It finally came to me, the explanation for the myth, and the reason we are not encouraged by the school to model real people:

So, in the past, VFS had this insanely good student. He always knew he'd go for modeling. He aced all modeling assignments in less than a few days. His only weakness, and what he wanted to work while at VFS was character modeling, to photorealistic levels.

Coming from the UK, his childhood was filled with U2 songs, so for his end of Term 2 pitch, he said he wanted to model the entire band, posed as if they were performing. He was adamant, and even though everyone said he wouldn't have enough time for the task, he went ahead and started modeling the lead singer. He obsessed about quality, he wanted to do 4k renders and kept on pushing details into the model and textures, getting to the point of having geometry for skin pores on Vox's face.

Term 4 went by, Term 5 was just a flicker. He was doing good work, yes, but not anywhere near the amount of things he had set out to do. By Mid Term 6's Presentation, all he had was the upper chest and head of Bono Vox, real to the point that Bono's mom wouldn't be able to tell the difference between a photograph of her son and a rendered image.

Instructors came down on him, but hey, he had done something amazing, so it wasn't entirely a waste of time. Everyone hated the guy for monopolizing the render farm and classrooms. Feeling proud of his master piece, this innocent student sent a message to the guy who was his inspiration along the year, his reference, actually, being more specific, to his AGENT. No reply.

Finally, graduation came down and along with it, a huge lawsuit against the school for "stealing the looks of Mr. Vox". The course administration was baffled, not able to understand how all that paperwork and lawyers got their timing so precise around the main event highlighting their student's work.

It turns out that email the kid sent out included a high-res still render and an invitation for the Grad. Dates, addresses and names included.

Sorting stuff out on the fly, VFS decided to go through with graduation, but held back on that particular reel, which wasn't projected with the others. Kagan was called up on the stage to get his diploma without actually presenting anything to the audience. His smile outshined all his classmates, though. No one understood his reasons until a few hours later.

It end's up Bono Vox had come to Vancouver, in person, to meet this kid who apparently knew and idolized him so much. Kagan never showed his work before an audience, but he had the pleasure to present it to the one guy who mattered. For about twenty five minutes he rambled about the level of detail, textures, poly count, rigging and being production ready. Then the lawyers copied his files and deleted the originals. As his sole demand, Kagan requested a photograph with his idol, which was taken on site, the very studio we attended.

Hence, whenever someone is going for a risky move during school, something that might turn out great or a massive failure, they call it "Kagan's Bono". A gem never seen, but that everyone knows it exists. And if you don't think any of this is true, try checking the only framed photograph on the Staff Area. Can you tell if it's a render or a real photograph?

Day-to-Day

Breathe In. Breathe Out.

July 20, 2015

Ok, agora menos euforia que o post anterior.

A vida em Vancouver durante o verão é sucesso demais. Devido a uma série de decisões sobre como encarar a vida, tenho tido bastante tempo "livre", e coloco entre aspas porque tenho aplicado esse tempo no meu projeto pessoal de vídeos de lentes. Não tô obcecado com ele, to me divertindo bastante filmando coisas por minha conta, sem a obrigação de contar uma história narrativa, ou atender expectativas alheias. Tem horas que fico de saco cheio e vou fazer outras coisas, ou enrolo pra fazer algumas partes, e é isso aí. Tenho tocado a VFS também com muito mais calma, tenho minhas metas, e vou trabalhar durante a semana, mas não tenho planos de mexer em nenhum dos meus arquivos durante finais de semana, ou quando estiver em casa. Como essa divisão entre casa e trabalho não é a coisa mais fácil pra mim, resolvi que a divisão ia ser física e, portanto, inquestionável.

Nesse fim de semana a gente se reuniu pra jogar. Sexta, depois da Term 6 presentation, eu e o Fernão fomos pra casa do Nicko e ficamos alucinando no Left 4 Dead. Depois, no Sábado de manhã eu fiz uma tonelada de packshots pra lentes que estou filmando reviews, resgatei a 50D que chegou no correio e me matei mais umas horinhas até fazer a Foton-A encaixar direito nela (tava fazendo um ângulo de 90 graus em relação à direção certa, uma beleza! Quase desmontei a lente pra resolver, tava corajoso. De tarde o Paul veio pra cá pra casa, e o Fernão apareceu um pouco depois. Ficamos jogando até todo mundo ficar zumbi de sono. Comprei uma melancia GIGANTESCA e resolvi experimentar um jeito novo de cortar o recheio em cubinhos. Deu certo, mas preciso de uma faca bem maior pra funcionar 100%. Falando em melancia, era uma fruta que sempre achei muito sem graça, sem gosto, além da encheção de saco dos caroços. Claro, frutas canadenses são muito doidas, e melancia aqui não tem caroço. Além disso, são surrealmente doces. Acabei de devorar a desgraçada hoje no café da manhã.

Nessa semana tenho planos de testar minhas técnicas culinárias fazendo um feijão que minha mãe me ensinou. Devo fazer isso na quarta ou quinta.

Tô andando de bike que nem maluco. O plano de ir na seawall três vezes por semana foi por água abaixo e tô indo todos os dias mesmo, além do tradicional trajeto casa-escola-casa. É MUITO relaxante andar de bike ouvindo música e ligar um foda-se pra tudo, sentindo só o corpo fazer esse esforço de transporte. No fim do caminho tem uma ladeira escrotíssima, subindo a Bute St., que ainda não consegui subir inteira de bike. Ontem e anteontem eu subi 2/3 dela, hoje nem tive pique pra começar. Dia de semana eu não vou me matar andando no parque, porque não posso chegar em casa e deitar pra descansar logo em seguida!

Mais coisas de ontem: depois de acordar ao meio dia, o Paul me ajudou a finalmente fazer meu currículo de VFX e, tomando vergonha na cara, tirei cinco minutinhos pra fazer meu cartão de visitas. De tarde eu gravei umas locuções para a OLD, uma versão sonora da revista para deficientes visuais, incluindo descrições detalhadas das fotografias. Nunca tinha feito isso antes, na vida. Foi divertido. Editar tudo foi menos divertido, mas não chegou a ser tedioso. Eram quatro entrevistas e intercalei cada uma delas com um episódio da segunda temporada de True Detective. Que série absurda.

Agora tô aqui, escrevendo esse post e pensando sobre uma versão turbinada do meu TCC, com muito mais de tudo, pra tentar vender em formato de PDF na net mesmo. O índice é promissor, mas vai ter muita pesquisa, e muito raciocínio escrevendo em inglês. Dai-me coragem!

E vamos nessa!

Ah, viva o Spotify, to viciado nesse treco de música. Tava precisando descobrir música nova faz tempo.

Anamorphic

Anamorphic Chop Shop - Unboxing the Rectilux

July 18, 2015

The Rectilux has been out for a little while and I'm just getting started talking about it. It's an amazing lens, and it requires further testing, as I'll be doing over the next weeks!

USEFUL LINKS:

All the RED links on this post are part of eBay's Partner Network, so if you purchase anything through them, you're helping me to keep this project going.

You can support this project on Patreon. Make your contribution and help the Anamorphic Cookbook!

Hi, my name is Tito Ferradans and this is an extra video for Anamorphic on a Budget. Today I’ll be talking briefly about unboxing my Rectilux 3FF-W

I know it’s a little late, the lens has been around for a few weeks, but there’s still plenty of questions about it.

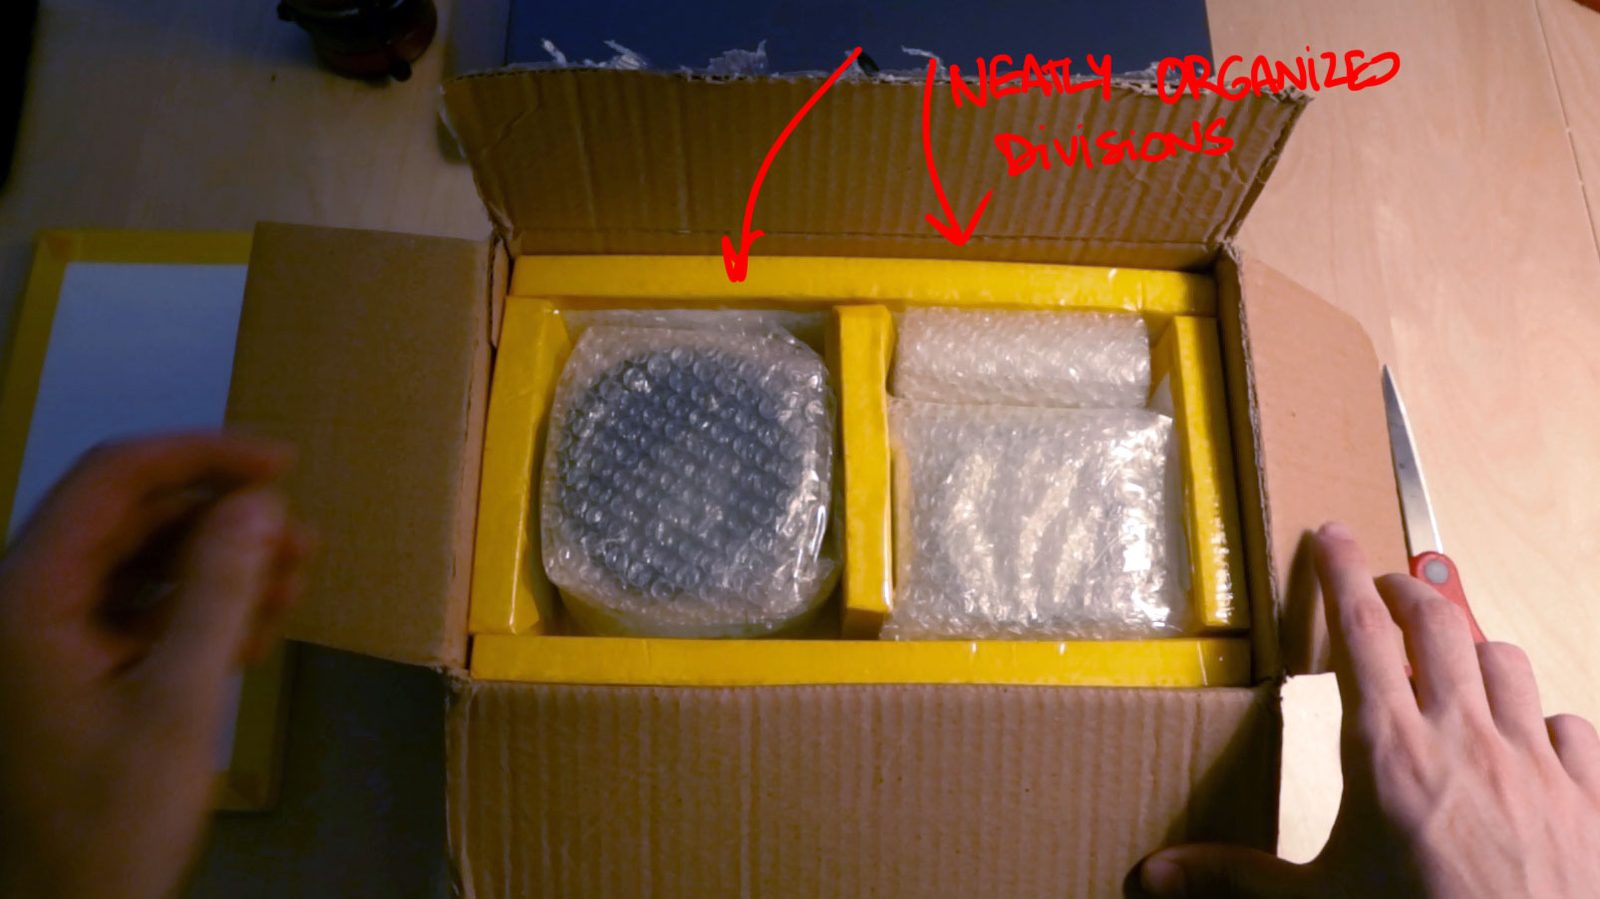
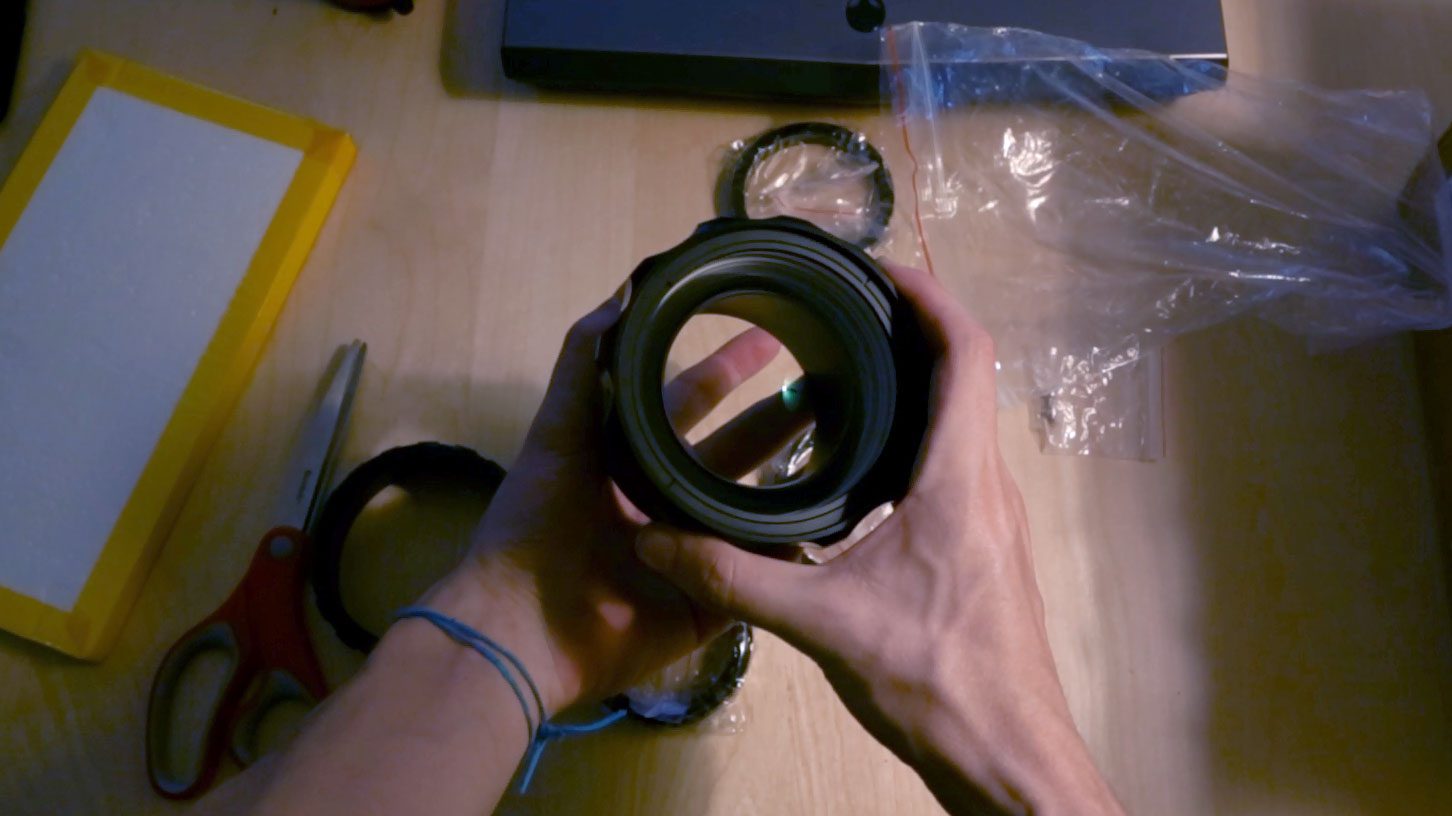
I have bought my fair share of lenses and the Rectilux has had the best packaging so far, especially when considering the volume/protection ratio. All the bits and pieces are carefully wrapped in separate rolls, here’s the main glass and metal body with the focus guard, the Rectigrip, and each set of screws.

As John Barlow contacted us through email, some people could experience problems with the screws so he shipped replacements for everyone. In my case I was missing two M3 screws and the ones that came were a little too short. Instead of waiting for my replacements, I bought a set of 20mm M3 screws at a regular hardwre store, which were about 2mm too long. But they worked and only costed me extra $3.

There were a couple of details I’d like to have on the package, though. Not complex-redesigning stuff, starting with lens caps, front and back. It makes me a little scared going out on the field without protection for the glass while it’s not being used, so I ordered a regular, cheap, 95mm front cap off ebay, and a 67mm screw cap for the back.

Second, I’d LOVE to have a pretty printed version of the owner’s manual. We got in our emails, but I think I’m vintage and like having some sheets of paper around. Also, you don’t always have a computer or phone on set to check the manual, so it would be a nice finishing touch to the product.

This is it for the video. I’ve been very impressed with this lens so far and will soon post more information about it. Subscribe to know when it’s up and check my blog for some extra material.

Tito Ferradans signing out.

Anamorphic

Anamorphic Chop Shop - Century Optics Bayonet to 52mm

July 18, 2015

A very quick guide showing how to replace the bayonet mount on the Century Optics 16:9 adapters with 52mm filter threads so it can be used with regular lenses.

USEFUL LINKS:

All the RED links on this post are part of eBay's Partner Network, so if you purchase anything through them, you're helping me to keep this project going.

You can support this project on Patreon. Make your contribution and help the Anamorphic Cookbook!

I'm Tito Ferradans and this is Anamorphic Chop Shop. Today I'll go over modding the Century Optics adapter from bayonet mount to 52mm threads.

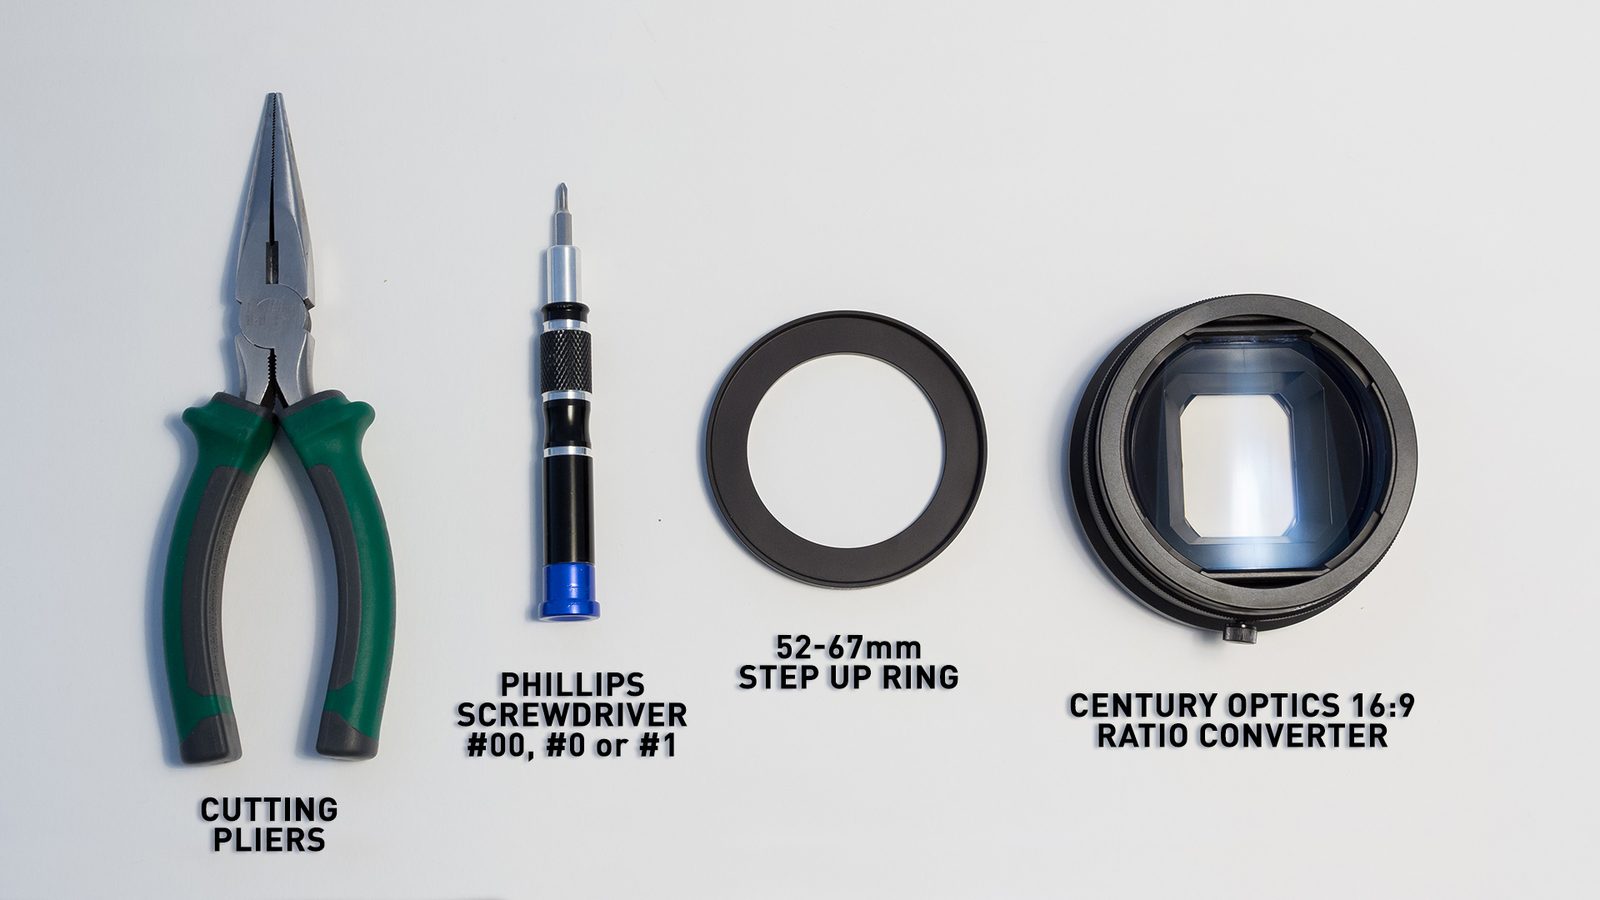
First off, you'll need the adapter, a 52-67mm step up ring, a phillips screwdriver, #00, #0 or #1, any of these will work. You'll also need cutting pliers if your Century has a Canon bayonet.

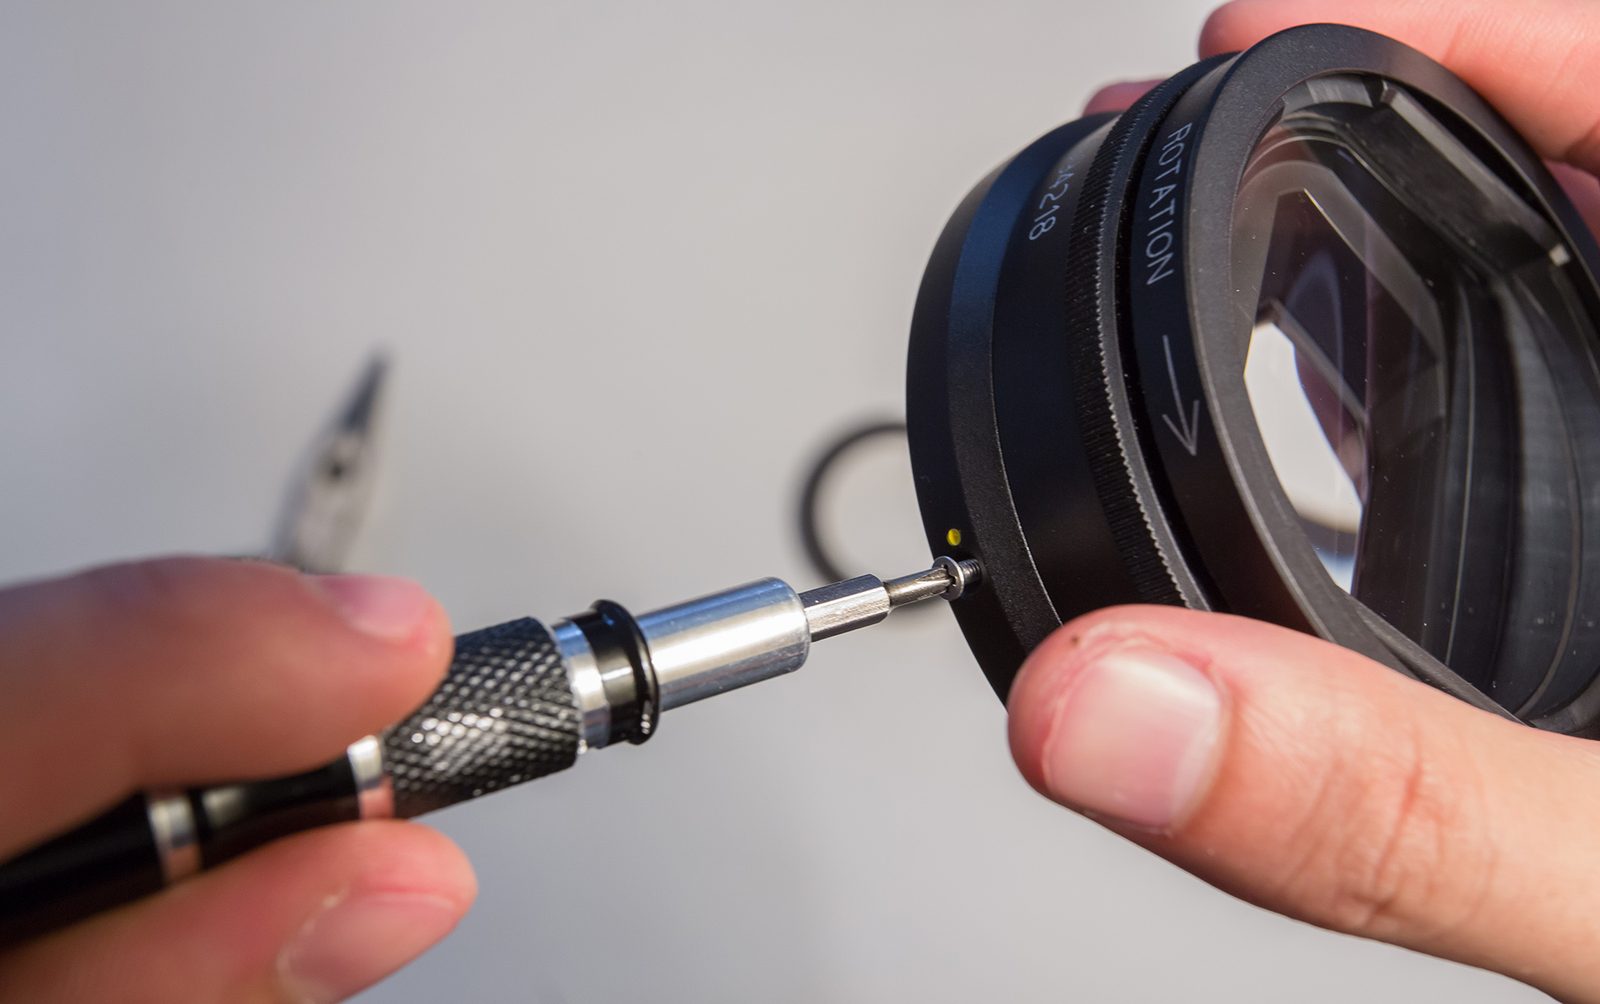
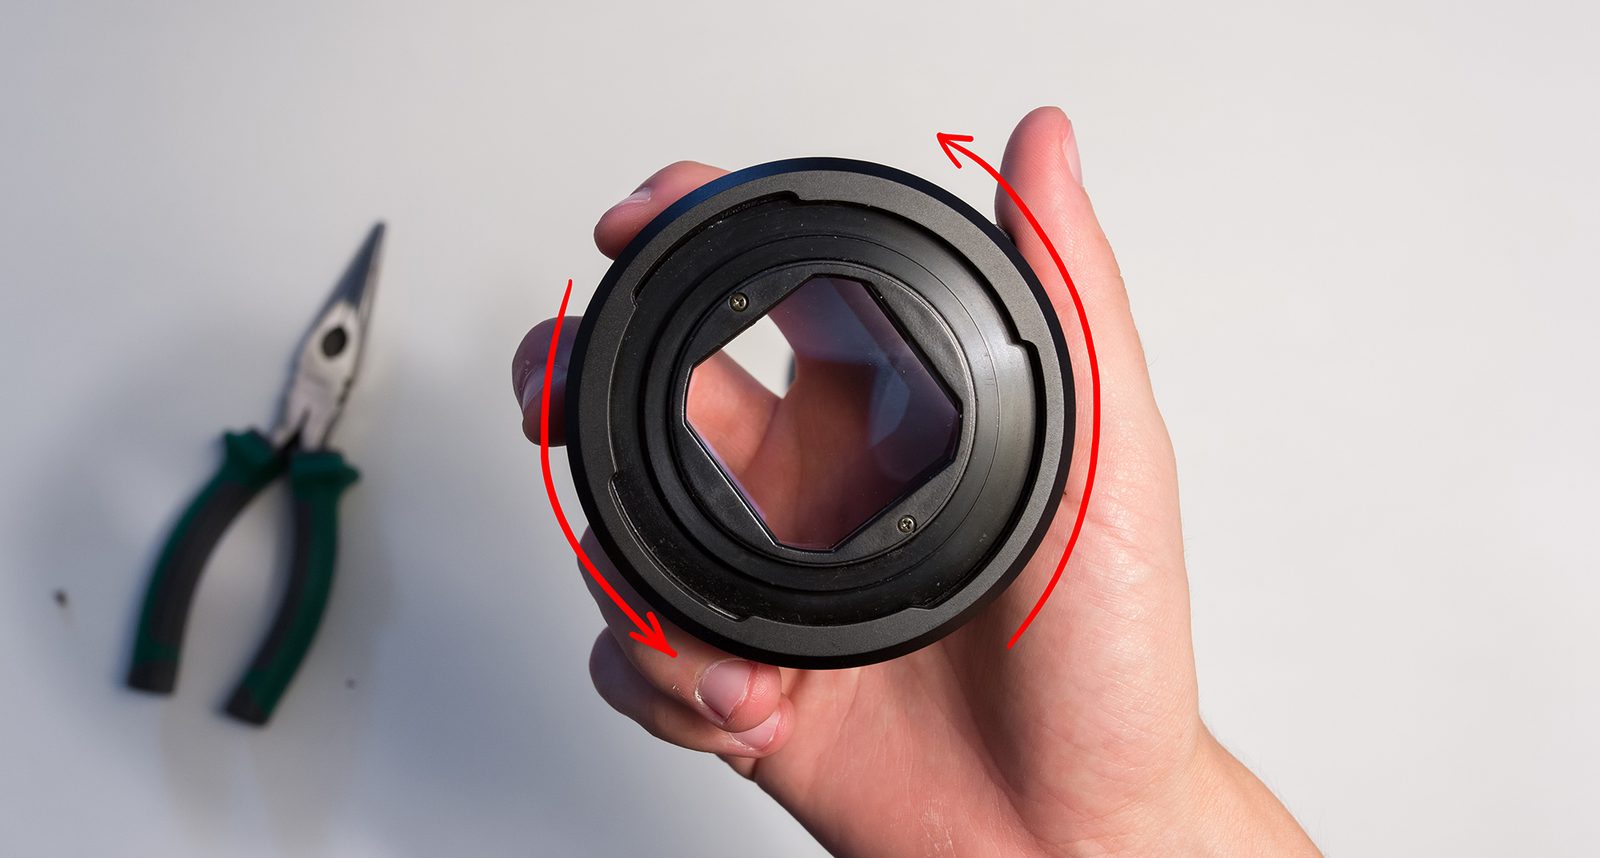
The version I have here is the Sony bayonet, for the VX2000, which is VERY easy to mod. First remove the screw on the side, then unscrew the lock off.


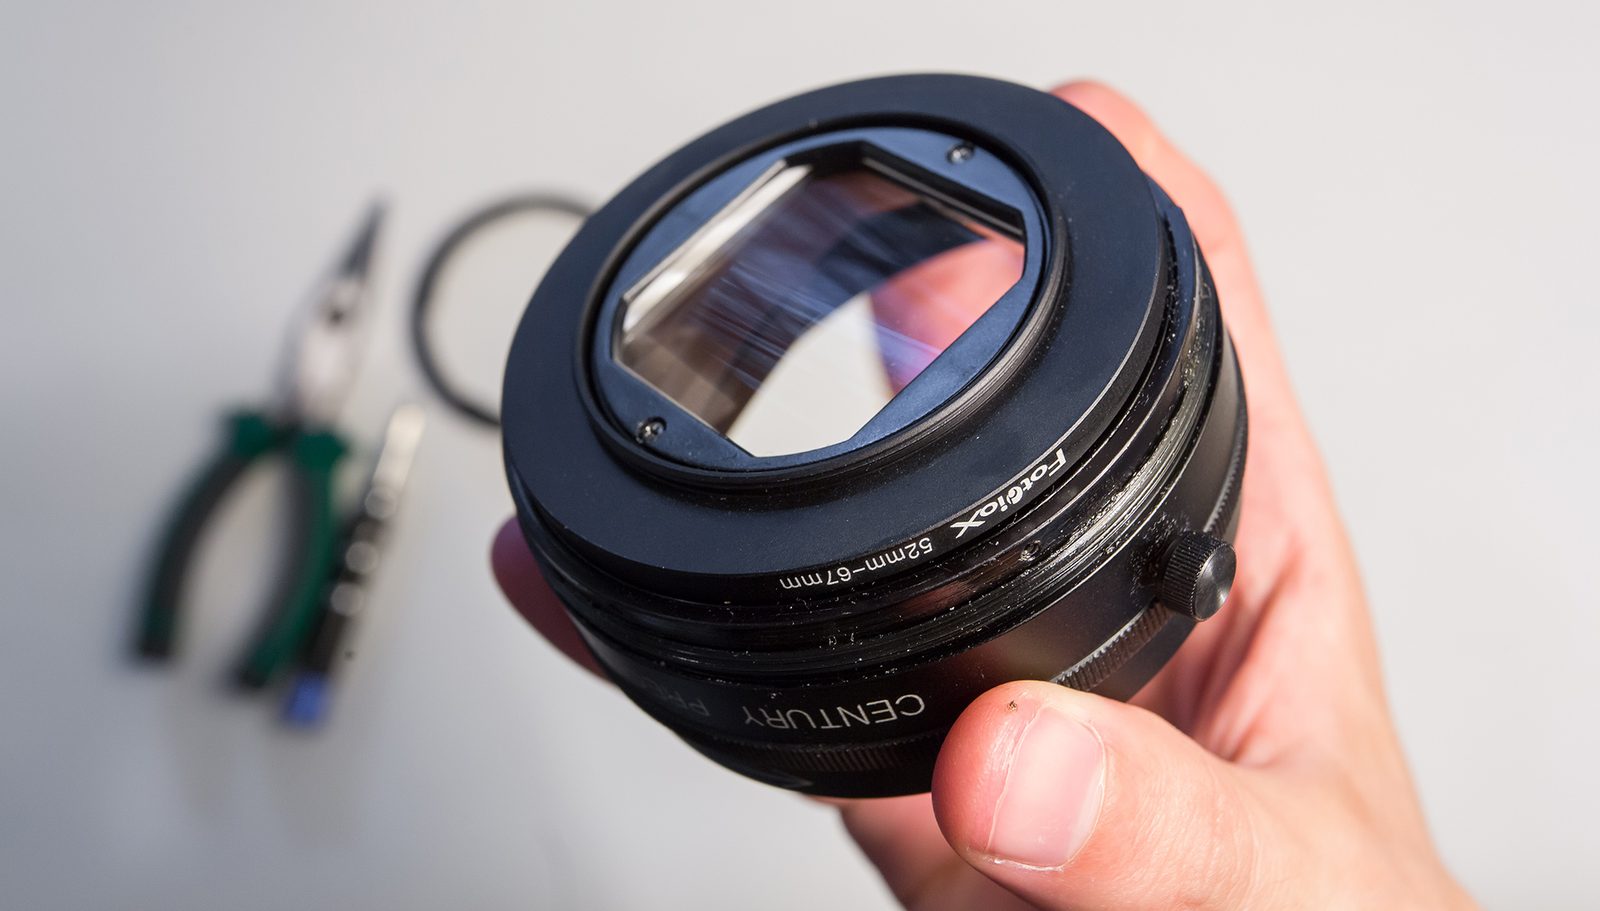
The Canon bayonet (for the GL1, GL2) has a stopper inside, while the Sony doesn't. You'll need to use the pliers to cut a slice in the step ring to fit the stopper, otherwise it won't be possible to reassemble the lens. Luckily for us, this Sony version just needs you to sandwich the step ring between the main body of the lens and the lock. The 52mm thread side of the ring will fit snuggly around the rear element.

Now just screw back the lock and put the little screw back into it's spot. Tighten it well so neither the bayonet lock rotates nor the step ring inside it, messing with the anamorphic's alignment.

As explained in the Century review, you can use an 82-72 or 77-72mm step down ring with electrical tape to create front threads, and voila, now you have a production ready adapter!

Special thanks to Matt Leaf for lending me the lens for this video.

Subscribe for more anamorphic content and visit my blog for the full Anamorphic on a Budget guide!